It’s time for planting, and whether you’re looking to expand your garden or just getting started with raised beds, figuring out everything you need and the steps involved can feel a little overwhelming—especially as the costs start to add up.
Throughout my gardening journey, I’ve used raised beds to grow a ton of veggies, and I still use them today. Today I want to give you some tips and tricks on raised bed gardening, including where you can get your materials from and how to fill them affordably.
Where to Find Budget-Friendly Fill Materials for Your Raised Bed
- Buy soil in bulk rather than bags to save on costs, especially when filling multiple beds.
- Use affordable compost or potting mix and reuse old potting mix—nutrients will build up over time.
- Fill with kitchen scraps, leaves, and yard trimmings—ask neighbours for extras or check for local street collections.
- Check with horse stables for free manure, but ensure there are no harmful pesticides and confirm when the horse was last treated for worms.
- Use homemade compost or vermicompost for nutrient-rich, low-cost material.
- Repurpose toilet rolls or kitchen paper rolls as biodegradable filler.
- Use paper or cardboard to suppress weeds and add organic matter; remove tape, staples, and glossy prints from cardboard.
Materials to Avoid:
- Non-organic materials: Anything that won’t break down, such as plastic or synthetic fabrics.
- Chemically treated materials: Avoid treated wood, pressure-treated lumber, or any materials that may leach harmful chemicals into the soil.
Low-Cost Methods for Filling Your Raised Bed
When it comes time to fill your beds I recommend the same method I always use which is a mix of Lasagne gardening and Hügelkultur.
Hügelkultur
Hügelkultur or hill culture is a method of growing food by building mounds and planting into the side of them. Large woody materials such as logs form the base and as you go up a layer smaller things such as branches, leaves and eventually soil is added.
The mound structure helps with water retention, promotes soil aeration, and provides nutrients as the organic matter decomposes over time.

Lasagne Gardening
Also known as sheet mulching, Lasagne Gardening involves layering organic materials like grass clippings, leaves, kitchen scraps, newspaper, and cardboard. The goal is to balance nitrogen-rich (green) materials with carbon-rich (brown) ones.
Over time, these layers break down to create nutrient-rich soil, making it a cheap and sustainable way to fill raised beds.
How to Layer a Raised Garden Bed
Personally, I combine both methods using any organic materials I have on hand. A quick rundown of the materials I often use is:
- Base Layer: Logs, branches, palm fronds, or wood chips
- Middle Layer: Grass clippings, kitchen scraps, straw
- Top Layer: Ready compost, garden soil, aged manure
Tip: Start with large woody materials, add compostable materials, and finish with soil. This method improves moisture retention and soil health.
Step 1: Lay a Base layer
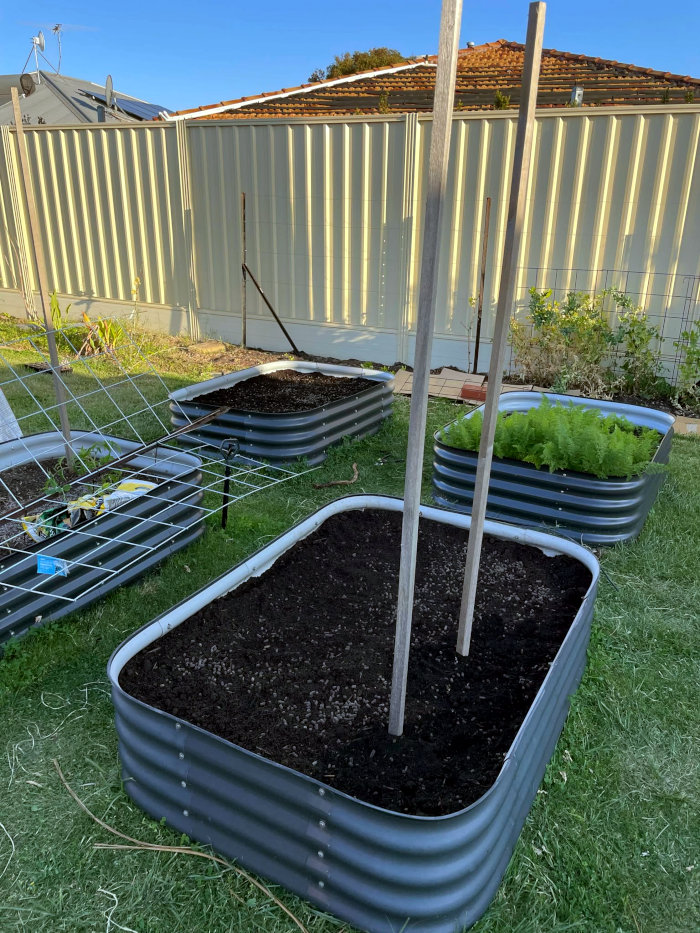
If you’re starting on top of a lawn, it’s a good idea to place weed mat or cardboard at the bottom of the bed to suppress the grass and weeds. Personally, whenever I’m making new beds, I prefer using cardboard.
If you have very tenacious grass species then they will grow through so consider removing the grass first if that’s the case.
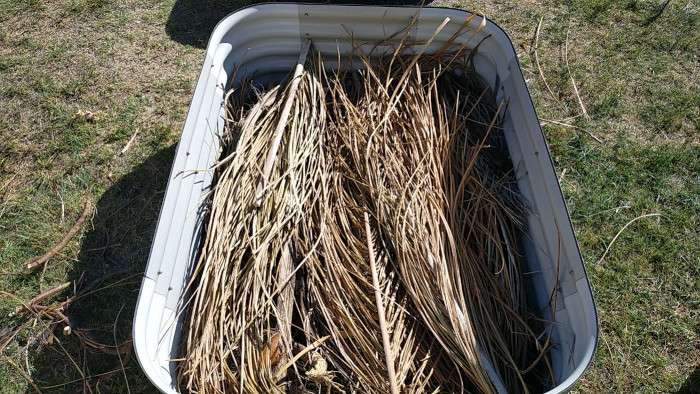
Next, add large woody or leafy materials like logs, branches, or palm trimmings. These will take longer to decompose, provide habitat for fungi, bacteria, and insects, and help retain moisture and nutrients.
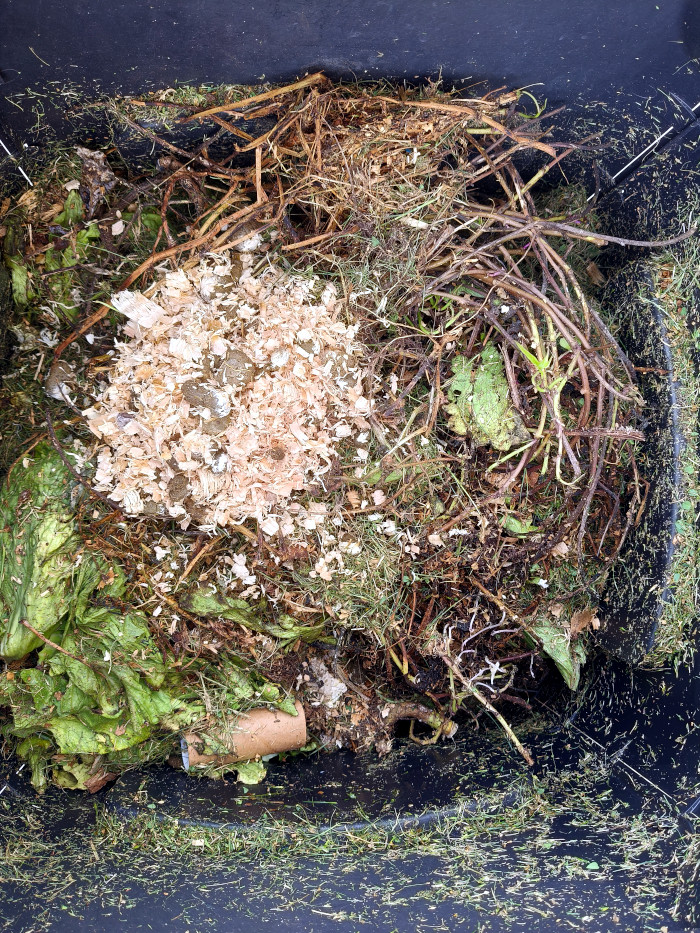
Step 2: Add a Middle layer

I just fill this up with smaller materials like sticks, leaves, grass clippings, kitchen scraps—basically anything I have on hand that I’d normally use for composting. I give it a little compacting to make room for the final layer of soil on top.
Step 3: Add a Top layer
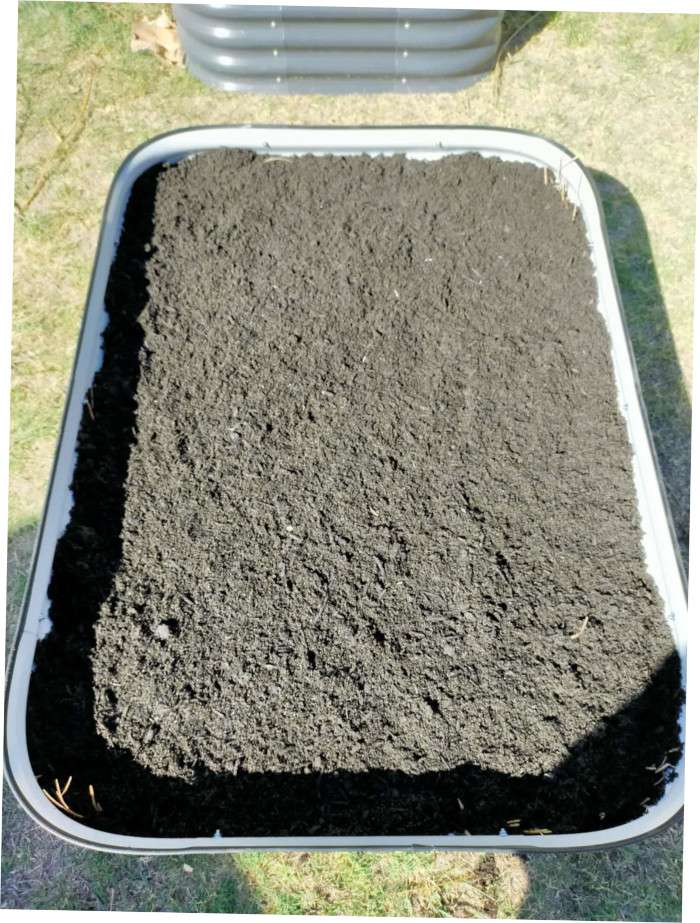
This top layer is where you’ll plant, and it’s important to consider depth, as some plants need more than others. Around 30cm (12 inches) of soil is a good depth for most plants.
You can use old potting mix, ready compost, or garden soil for this top layer. A mix of soil and compost works well for filling a few beds.
I personally find planting right away works fine, but some people prefer to wait for the materials to break down. It all depends on what’s in the top layer and how deep—if it’s raw manure or unfinished compost, you might want to wait a month or two before planting.
How Long Does It Take for Materials to Break Down?
Larger materials like logs and palm branches can take several years to decompose, while smaller things like sticks and leaves break down much faster, usually within a couple of months.
Note: Expect the beds to settle over time. I like to top them up in autumn and spring to maintain soil quality.
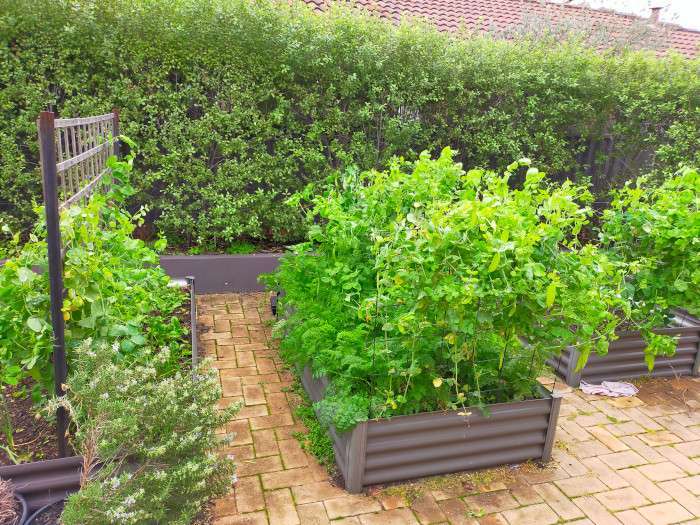
Results from My New Raised Beds
Here’s a look at how my raised beds performed through their first year:
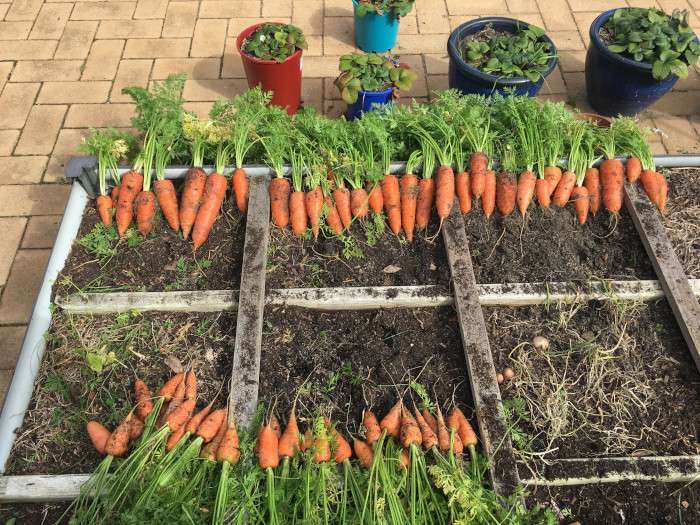
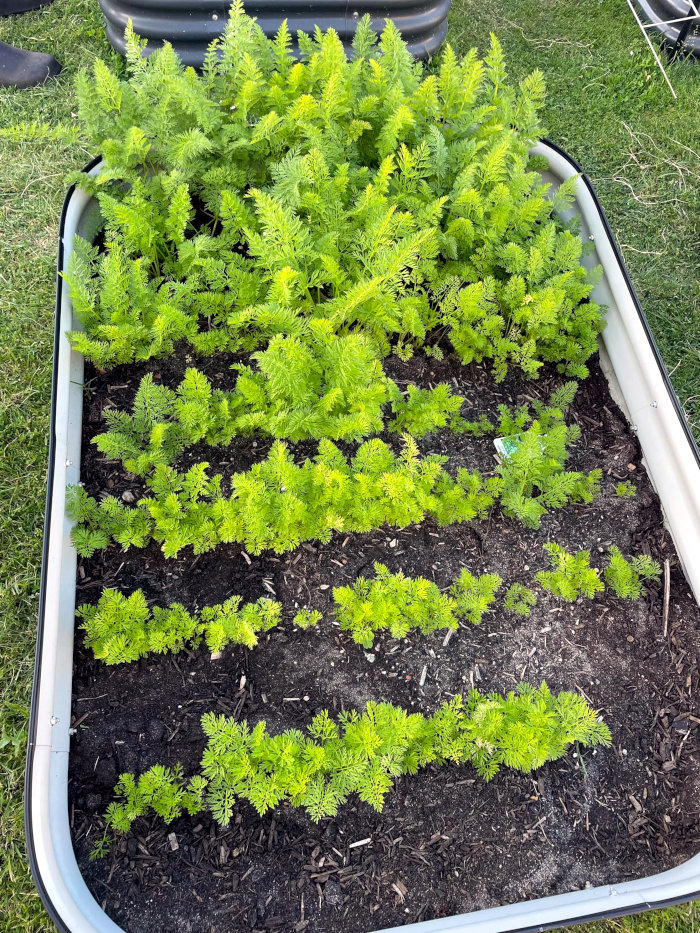
Winter Harvest
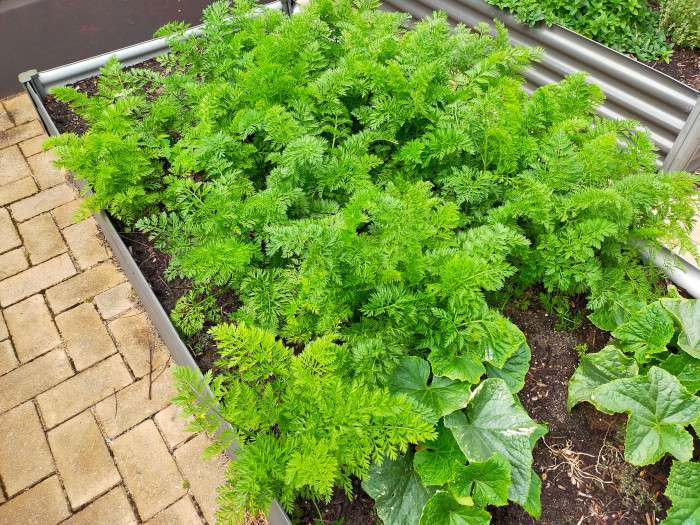
We have an all year round growing season here in Perth so winter is a great time to grow cool season vegetables. Among my favourites are spinach, snow peas, and I’m getting pretty good at growing great carrots.
I also like this time of year because I can take a break from watering as we finally get decent rainfall.
After our winter harvest was finished and we headed into spring, we topped the beds with some organic rooster manure and homemade compost to replenish our beds ready for the spring and summer.
At this point, I like to rotate my crops to different garden beds to prevent any diseases from building up in the soil.
Summer Harvests
Summers here can be quite brutal, with temperatures often in the mid-30s°C (90s°F) and sometimes reaching over 40°C (104°F). There’s virtually no rain for a few months of the year, so even with irrigation, I find myself spending a lot of time hand-watering to keep on top of things.
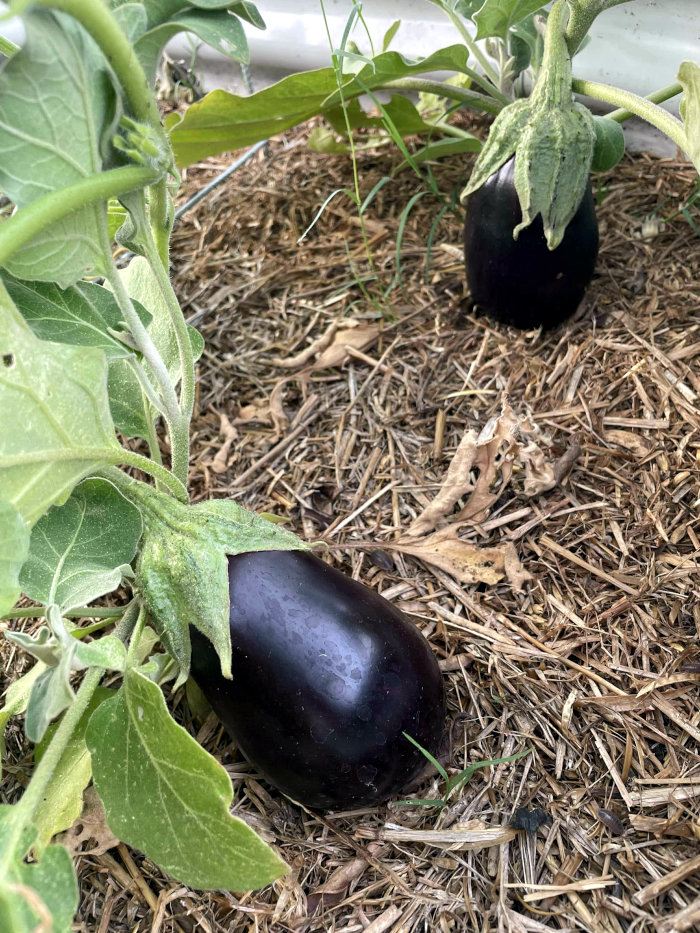
The good news is that the hot weather encourages rapid plant growth, making it good for crops like tomatoes, eggplants, and a variety of other fruiting plants.


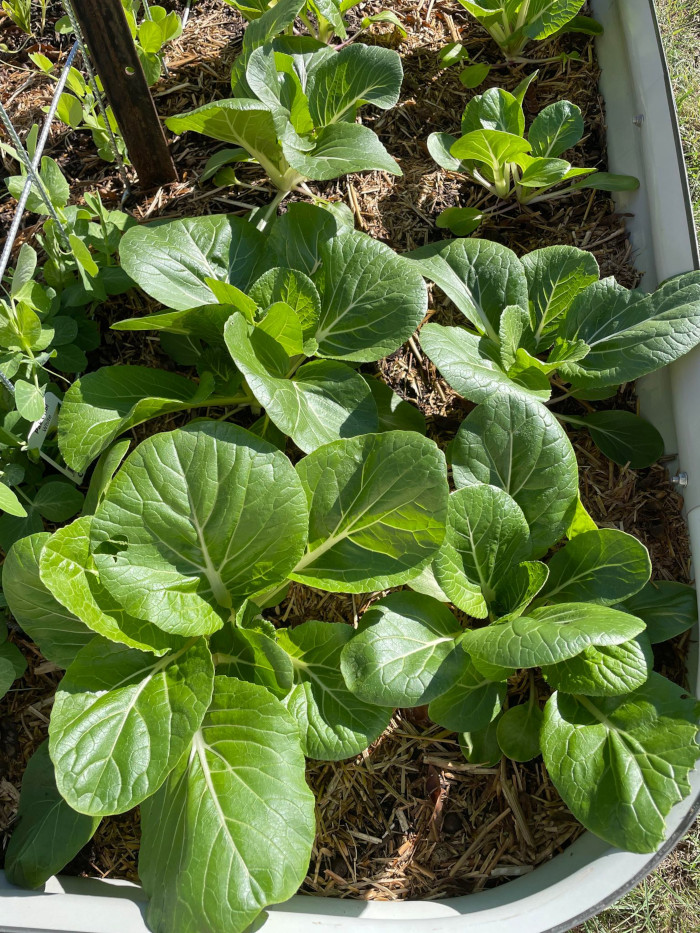
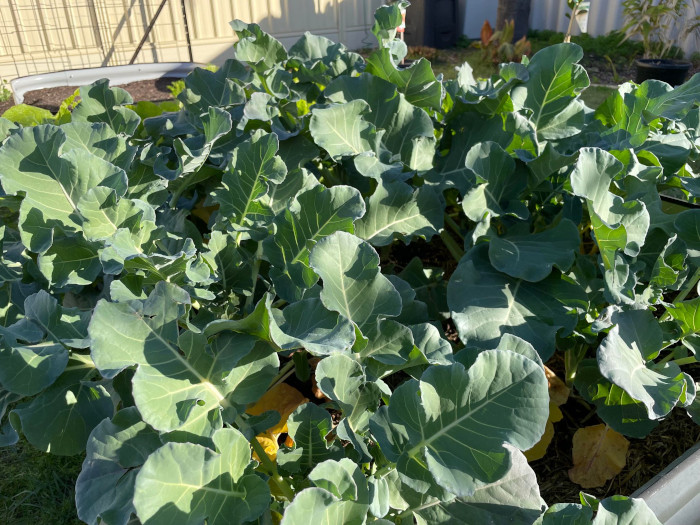
Overall, the beds have thrived, rich in nutrients and full of worms. I’ve grown heaps of crops, from leafy greens to hearty root vegetables, and even managed to grow tomatoes successfully for the first time this year (they’ve always been my bane for some reason).
Tip: Rotating crops and replenishing with compost or manure keeps soil fertile and prevents disease build-up.
Conclusion
Raised bed gardening offers many benefits, and with a bit of creativity and effort, you can build and fill them affordably. Methods like lasagne gardening and hügelkultur are great ways to turn available materials into rich organic matter, perfect for growing veggies or whatever you like.
Get excited for the bounty your new raised beds will bring. Whether it’s veggies, herbs, or flowers, you’ll soon enjoy the satisfaction of growing it all yourself.