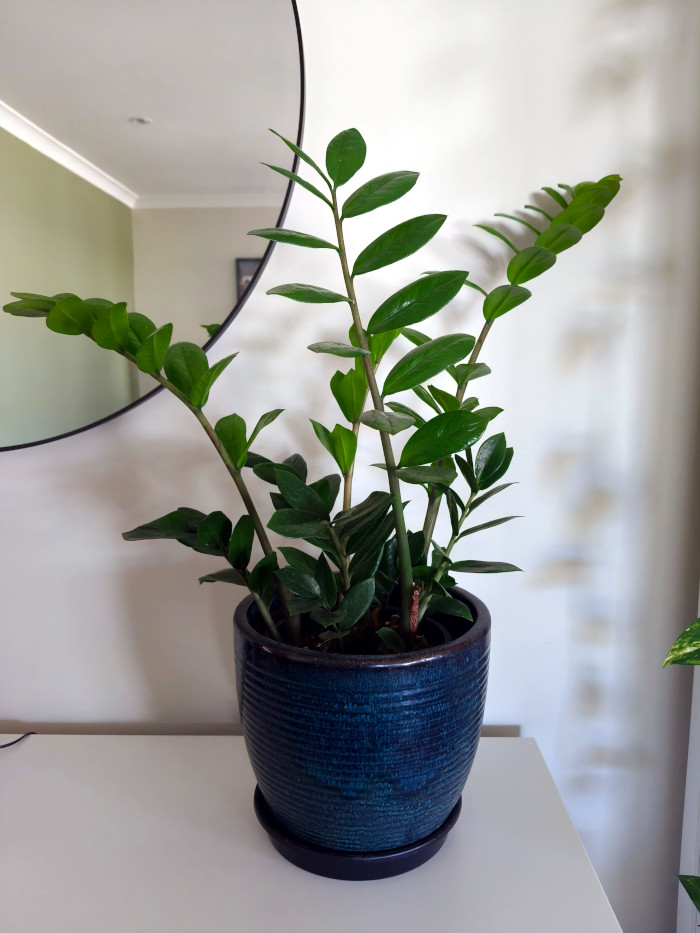
ZZ plants are incredibly hardy and thrive in spaces where many other plants struggle. Their adaptability makes them a great choice for filling those tricky spots around the house. I actually didn’t like this plant at first but it’s grown on me so I decided to propagate more.
Propagating them is surprisingly easy, and today, I want to share what worked for me along with the steps you can take to grow your own.
Materials Needed
- Knife/Pruner – Whenever cutting plants, using blades sterilized with alcohol is good practice to avoid spreading disease.
- Vase (For Cuttings) – A see-through vase is ideal so you can monitor the roots for disease and growth.
- Rooting Hormone (optional) – The base of the stem can be dipped in rooting hormone to increase the chances of roots growing but either method will work without it.
How to Propagate a ZZ Plant by Division
ZZ plant propagation is easily done by dividing the plant. A good time to do this is when you are repotting or when the plant has sent out quite a few stems so you have more to work with.
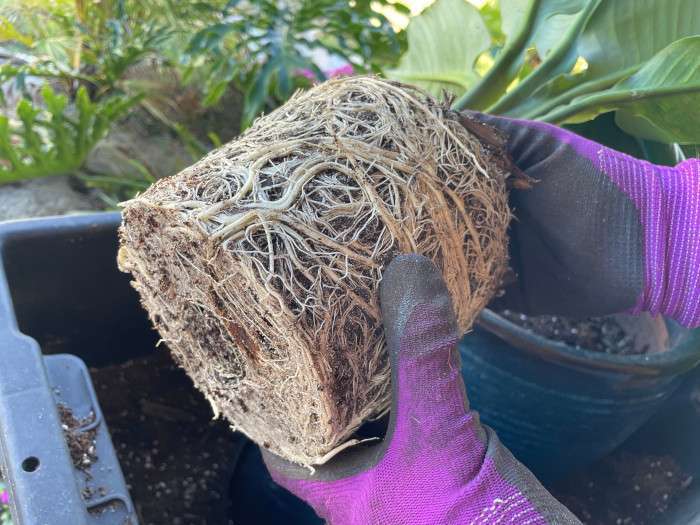
1. Remove ZZ Plant from Pot
When you pull it out of the pot, don’t worry too much about the root ball, since we’re going to pull it apart anyway. If it’s stuck, squeeze the sides of the pot or tap the bottom to loosen it. Wriggle it around and it will come loose eventually.
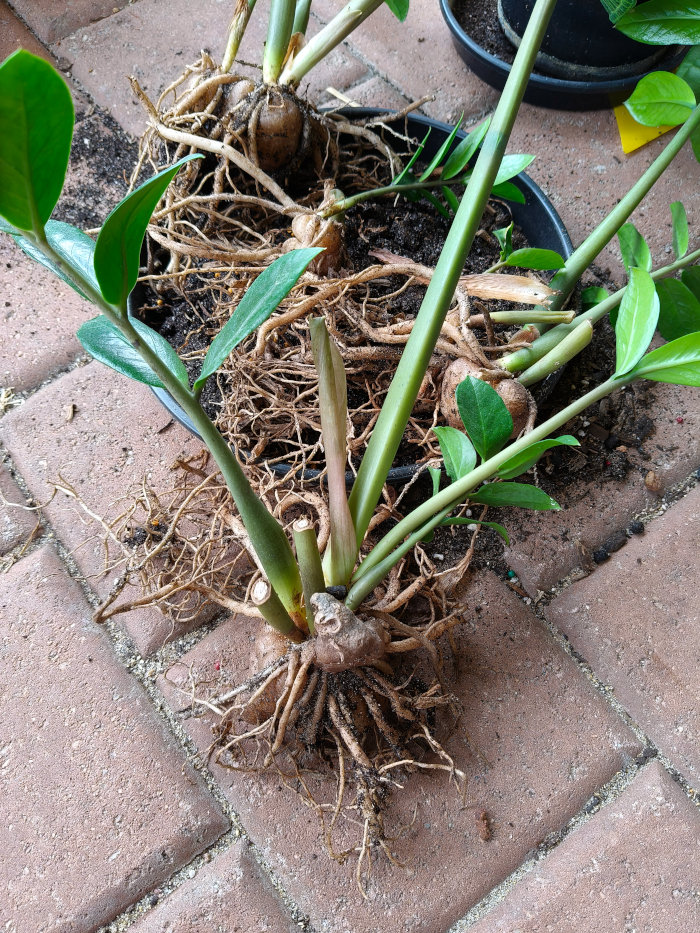
2. Separate the Rhizomes
I find the rhizomes come apart really easily, so you won’t need to cut them like you would with some other plants. Just tease them apart with your hands.
Tip: A single rhizome will grow into a new plant, so take as many as you want and repot the others together again.
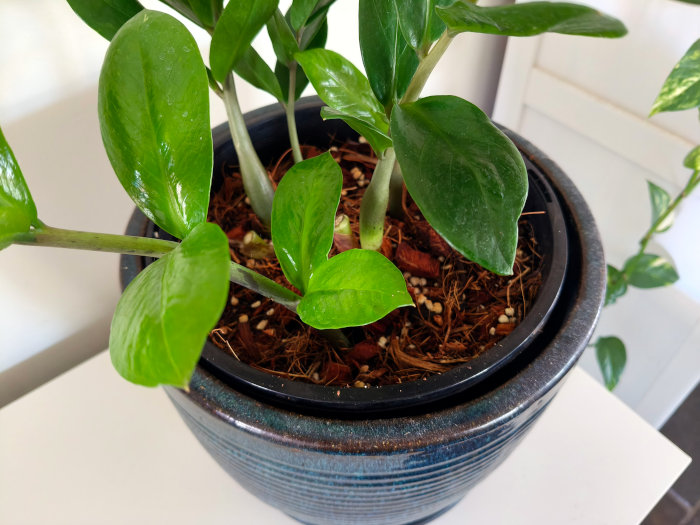
3. Repot ZZ Plant Propagations
The rhizomes of the ZZ plant store nutrients and water, which helps them recover well after repotting. Still, following repotting best practices will give your propagations the best chance at success.
- Use a pot that fits the roots well—not too large or too small.
- Water thoroughly to help the roots make contact with the soil.
- Keep the plant in a bright, indirect light location to encourage strong growth.
- While the rhizomes store water, I like to keep the soil consistently moist during the early recovery and growth period.
Tip: Lately, I’ve been using a chunky mix for my indoor plants, and I’ve found my ZZ plants thrive in it.
How to Propagate a ZZ Plant by Cuttings
If you’re wondering whether you can grow a ZZ plant from cuttings, the answer is yes—quite easily. I’ve had more success with water propagation than soil, as ZZ plant cuttings are weaker without their rhizome. Water helps keep them consistently moist, which seems to improve their chances, but you can still try soil if you prefer.
1. Take a ZZ Plant Cutting
Take a cutting from the base of the plant and remove any lower leaves. Don’t worry about nodes or anything — any cutting will work.
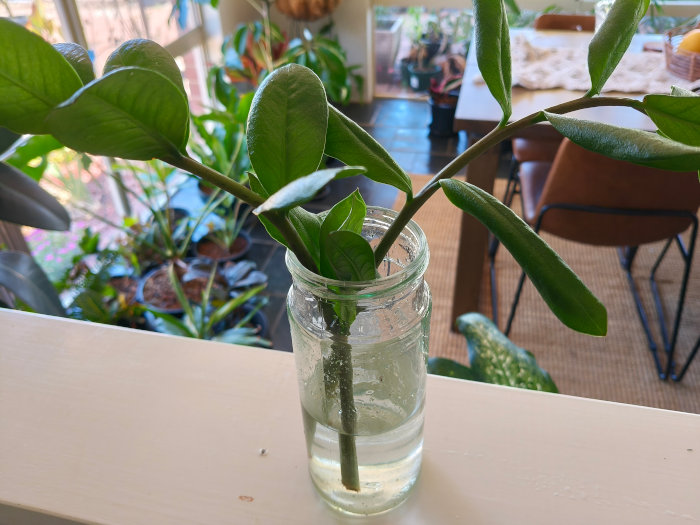
2. Put Cutting in Water
Place the cutting so the stem is in the water and place in a bright location but keep out of direct sunlight. You can use rooting hormone if you want to help speed up the process. If you have longer cuttings I suggest using a taller vase to stop them falling out.
3. Monitor the Progress
It will take 4–6 weeks for roots to start growing, but it can take longer. You’ll begin to see small white roots starting to form, and you might even notice a little bulbous rhizome developing as well.
ZZ plants are slower growing and the thick stems often take a long time to produce roots compared to other plants.
Note: Plant roots need oxygen, so the water should be changed occasionally to reintroduce oxygen and prevent bacteria that may cause rot. Don’t worry too much—just change it whenever you remember.
4. Transplant Your New Propagations
Once your propagation has a well-developed root system, it’s time to move it into a new pot.
- Use a pot that fits the roots well—not too large or too small.
- Water thoroughly to help the roots settle into the soil.
- Keep the plant in bright, indirect light to encourage strong growth.
Tip: A well-draining, chunky mix has worked best for me when potting up my cuttings.

How to Propagate a ZZ Plant by Leaf Cuttings
While it can be done, leaf division is super slow, sometimes even up to a year before you get new growth. If you want to do it anyways for fun then here are the steps:
1. Take a Leaf Cutting
Just cut as close to the stem as you can so you have more leaf to work with.
2. Put Cutting in Soil
While water can work, I find it a bit finicky to keep leaves in water. Soil is just easier to work with. Stick the leaves in the soil with the bottom part buried. Use a moisture-retentive mix to prevent them from drying out, and keep them out of direct sun.
3. Monitor the Progress
It will take 4–6 weeks for roots to start growing, but up to a year before you see proper new growth. Once you notice a new shoot emerging, you’ll know the plant is established and can be treated like a regular ZZ plant.
Conclusion
Propagation always takes patience, and with ZZ plants, you’ll need even more than usual. They may take longer than other houseplants, but the wait is well worth it. With the right method and a bit of care, you’ll soon have plenty of healthy new ZZ plants to enjoy.