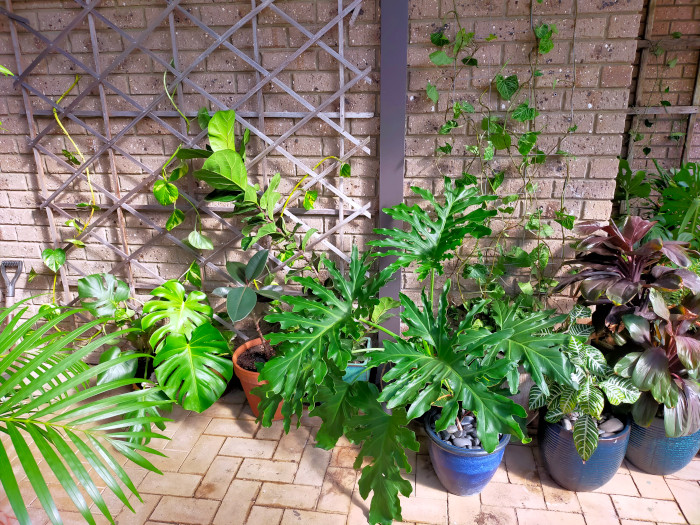
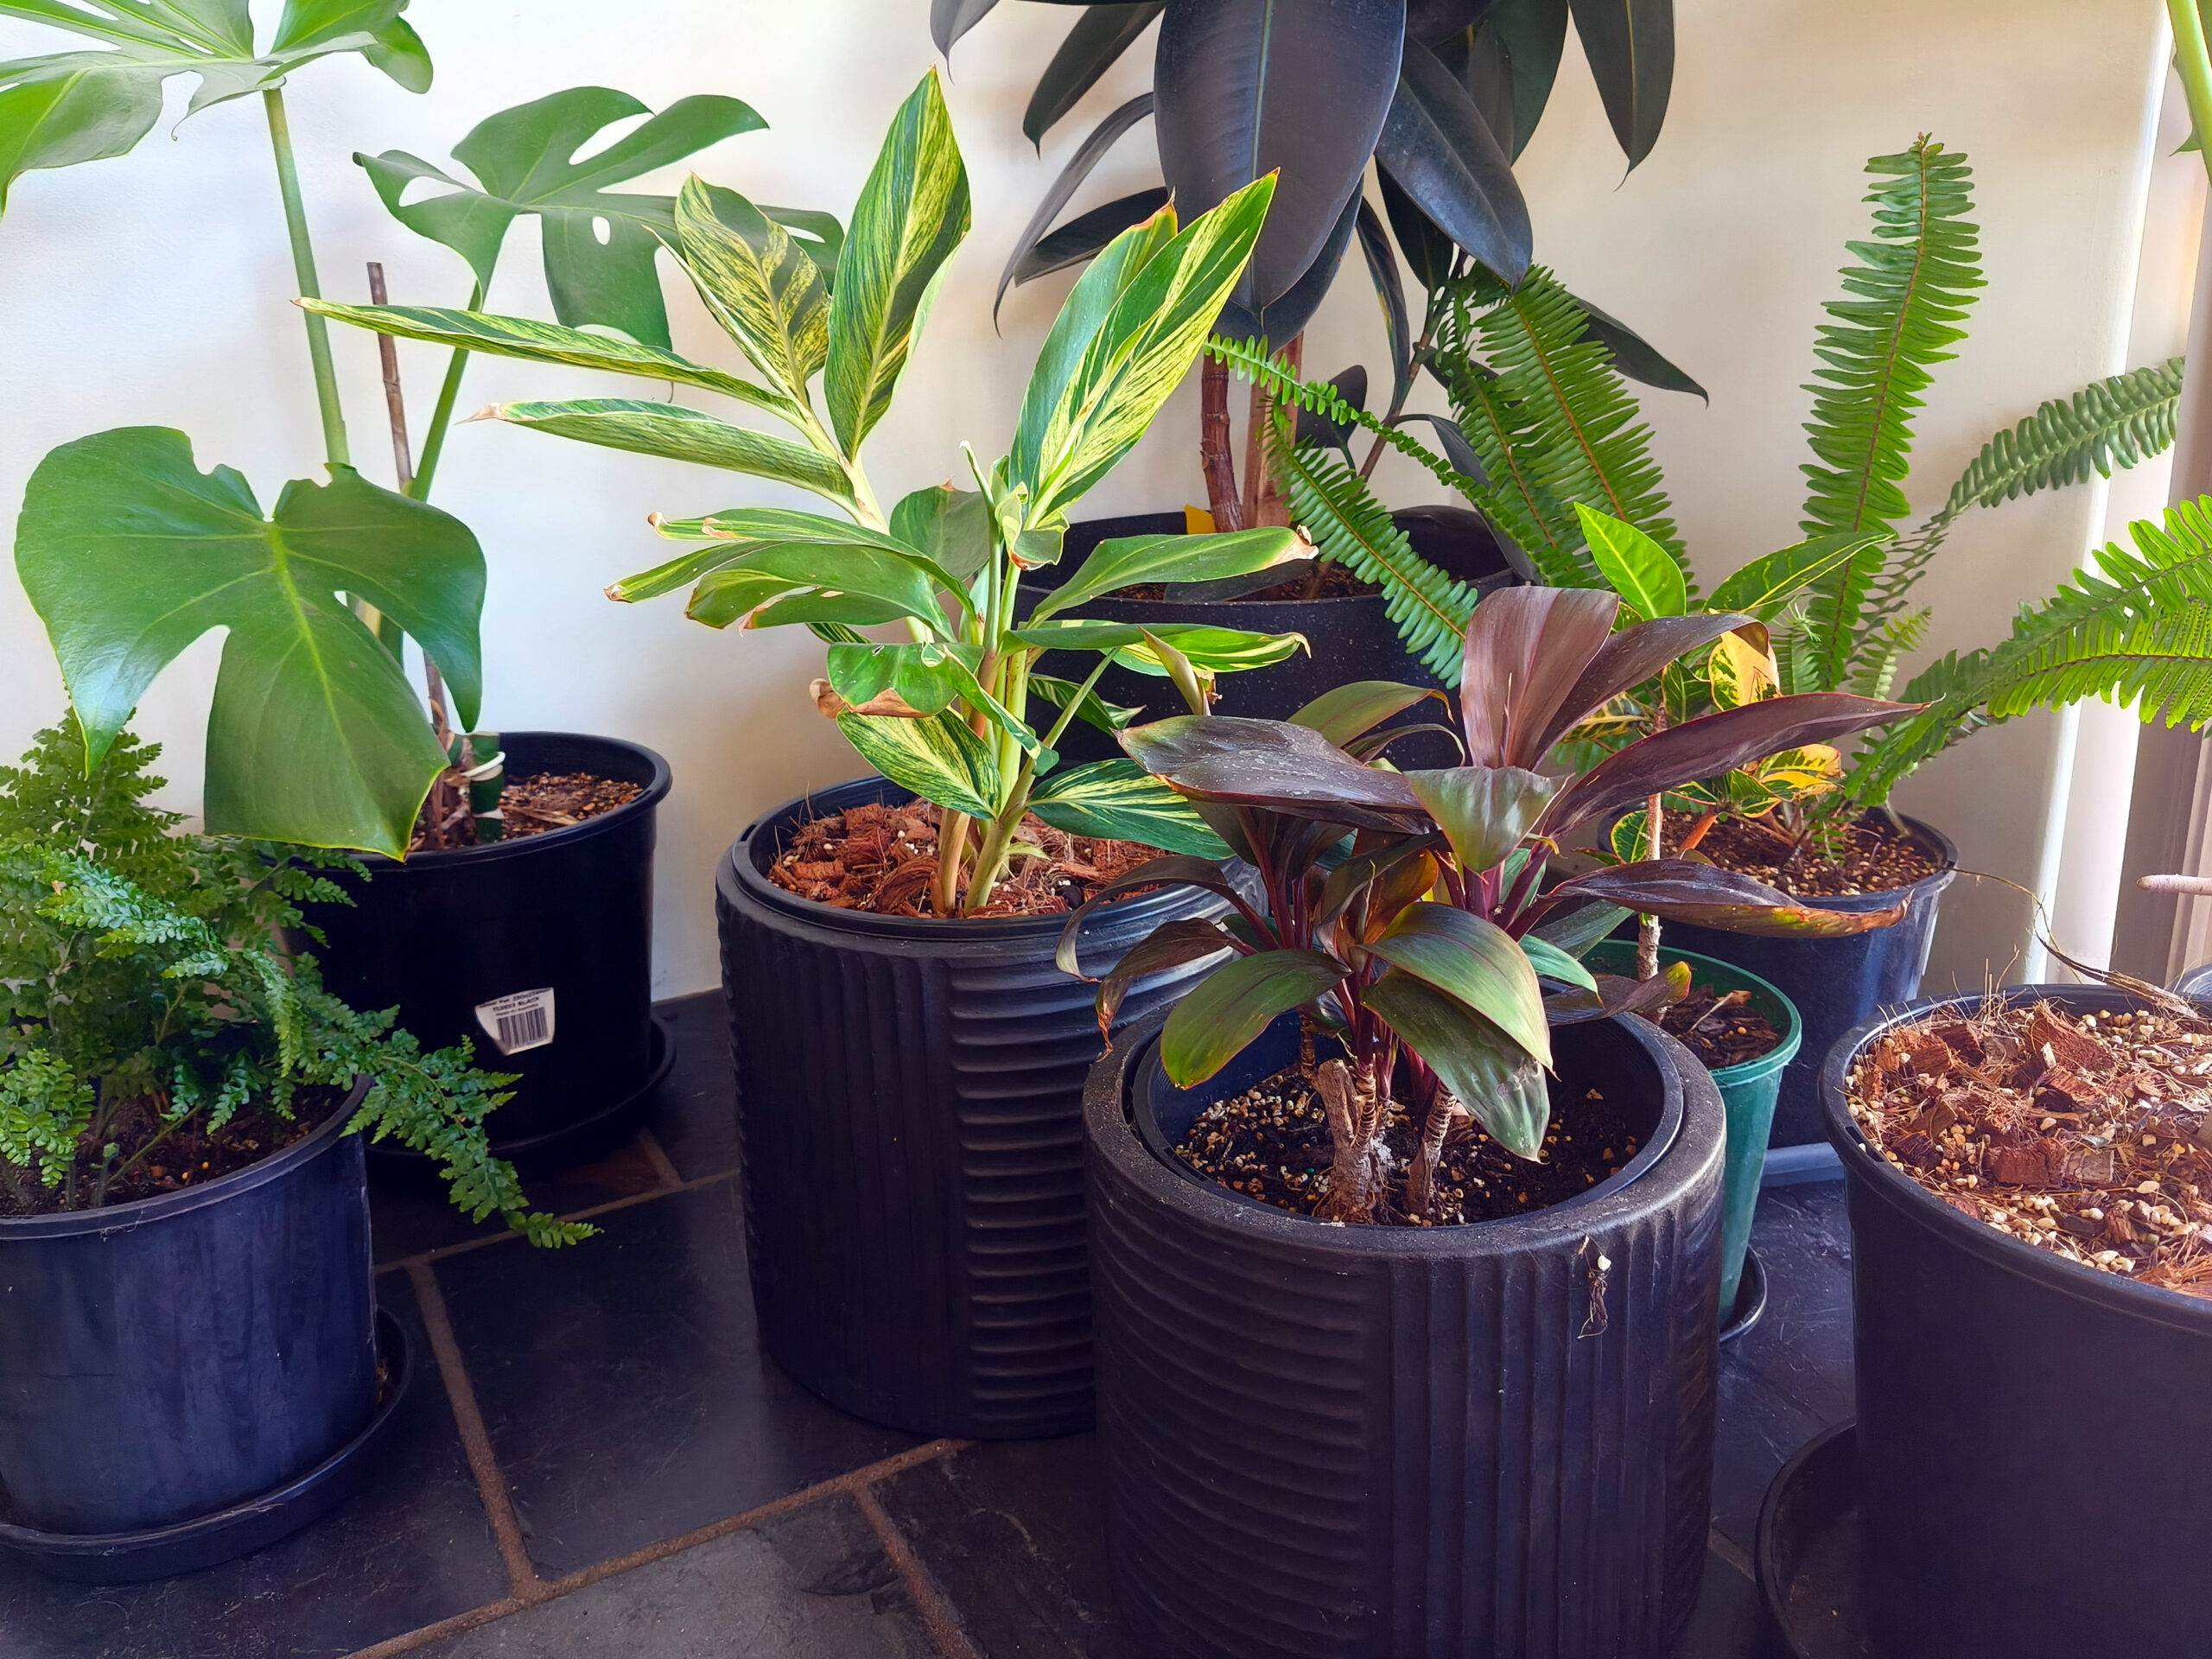
You’ve been tending to your plants for some time, carefully nurturing them. However, you’ve noticed signs that suggest it’s time for a change. Perhaps they are showing signs of becoming rootbound or maybe they are outgrowing their current pot. After all the time and effort you spent, you are worried you will damage or worse yet kill your plant during the repotting process.
This straightforward guide will give the a step-by-step approach you can follow to prevent damage, reduce transplant shock and ultimately get your plant thriving in their new home. Having successfully transplanted numerous pot plants using this method, your plants are in good hands.
How to Know When to Repot a Plant
Plants naturally outgrow their environments over time, and several factors can show that it’s time for repotting. Here’s why changing pots is important for your plant’s health and growth:
Reintroduce Nutrients
Over time, the nutrients in the soil deplete as the plant uses them to grow. Additionally, some nutrients are flushed out each time you water. The rate at which this happens depends on things like the frequency of watering and the growth rate of the plant.
Increasing the size of the pot is an chance to add fresh, nutrient-rich soil. A healthy, fast-growing plant will need a larger pot sooner, which is a positive sign of vigorous growth! If your plant has stopped growing or is growing slowly, it might be time to change pots and add a new mix.
Improve Drainage
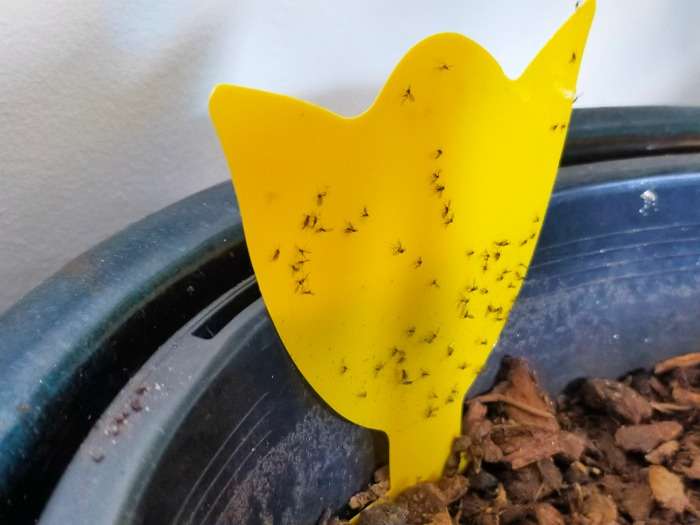
Poor drainage is often a major reason for unhealthy plants. It can lead to pests like fungus gnats, diseases and even the death of the plant. Over time soil in a pot can become compacted and this affects its ability to drain easily. For this reason changing pots creates an opportunity to improve the drainage of the mix by introducing free draining materials.
Prevent Root Binding
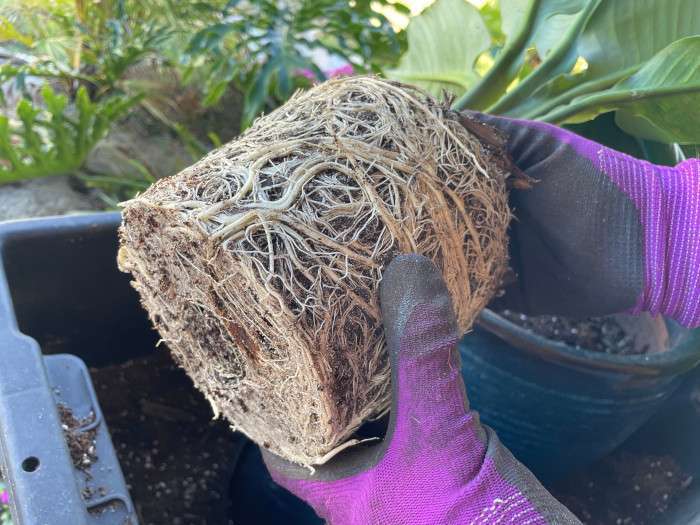
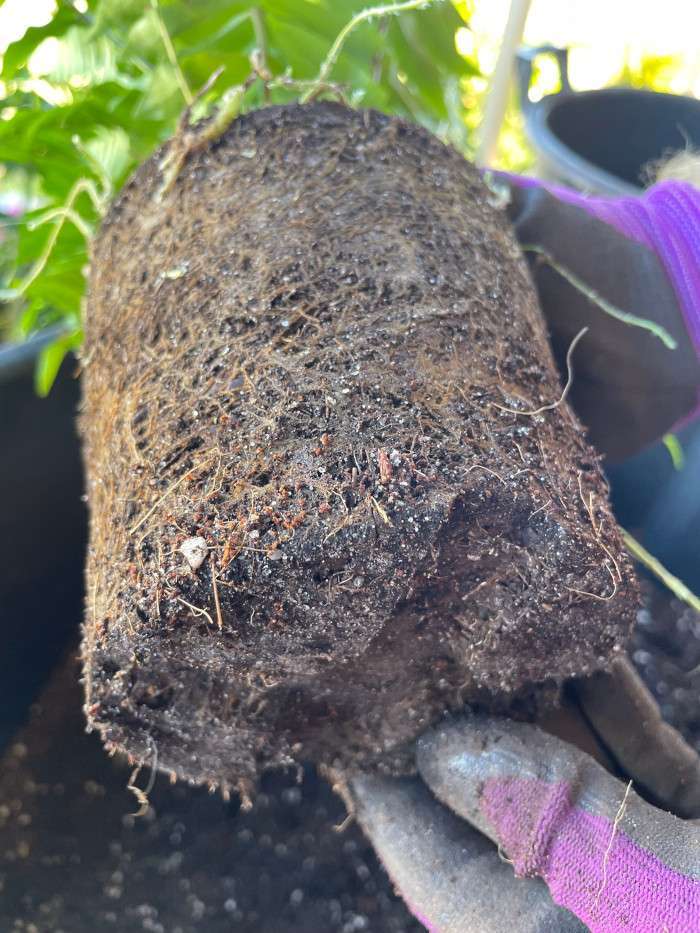
When a plant becomes to large for its pot, it’s roots have no room to grow so they will keep growing in tight circles. This can prevent the plant from absorbing any more water or nutrients and so may eventually lead to death. Some indicators of a plant being rootbound include:
- Slow growth
- Roots coming out of the bottom of the pot
- Yellow or brown leaves
It’s very common for plants to be root-bound especially if they have been in the same pot for a long time like those kept in nurseries. Plants are quite resilient and this is not a major cause for alarm but is something to be mindful of when repotting.
Choosing the Right Pot
Of course, we all want a pot that looks good, but before you pull the trigger, it’s important to consider both the material and size, as these are crucial for your plant’s health.
Terracotta Pots
Advantages:
- Porous
- Absorbs moisture
- Suitable for plants preferring drier soil conditions
Considerations:
I don’t tend to use them for larger pots because I find they do break especially during repotting if you are not very careful. They will expand and contract in temperature extremes which can make this even more problematic. But for small indoor plants, I think they make good pots.
Ceramic Pots
Advantages:
- Non-porous
- Durable
- Often glazed for added strength
Considerations:
I’ve inherited a lot of ceramic pots from my mum and I’m a big fan of them for both indoor and outdoor use, they often come in a lot of different colours and textures. They do tend to be quite heavy so larger sizes might be a bit of a challenge to move around.
Plastic Pots
Advantages:
- Lightweight
- Durable
- Inexpensive
Considerations:
They are much lighter than terracotta or ceramic so if you plan on moving plants around as part of your care routine then I recommend them. I tend to use a mix of ceramic and plastic pots.
Whichever material you choose, it’s more important that you use the right potting mix for your plant. If you want to learn how to make the best potting soil for indoor plants, check out How to Make the Best Potting Soil for Indoor Plants.
Selecting the Right Pot Size
The size of your new pot plays an important role in your plant’s health and growth. Here’s why:
- Too Big: If the new pot is too large, excess moisture may accumulate in the soil, leading to issues like fungus gnats or root rot.
- Too Small: If the new pot is too small, there won’t be enough room for the plant’s roots to grow, potentially stunting its growth. (You are changing pots for a reason!)
While you can get away with either situation, I suggest you aim for a pot size that is about 1.5 times larger than the old pot. This isn’t a strict rule, but it’s a useful guideline to ensure there is enough space for root expansion and an optimal amount of moisture.
How to Repot a Plant
By now we understand why we want to change pots and what to consider when choosing a new one. Let’s get into the actual repotting process.
Step 1: Choose the Right Season
You can successfully repot at any time but as a general rule it’s a good idea to repot in spring while the weather is still cool but growth is about to start. During this time the plants will be starting to produce new growth which will help them recover from the repotting process.
Avoid repotting during hot weather as plants will naturally need more water and damaged roots will not be able to absorb water efficiently which can increase the chances of stress and dehydration.
Step 2: Removing the Plant from the Pot
Before you start shaking your pot around and yanking on the plant, choose a soft surface like grass or a mat, especially if your pot is ceramic or terracotta, to prevent damage.
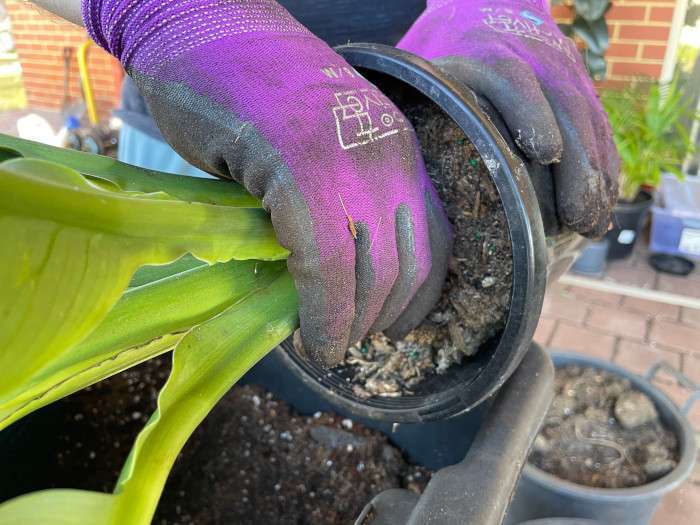
Grab the base of the plant around its thickest stem and gently pulling upwards. If the plant is really stuck to the pot, try squeezing the sides and bottom of the pot to loosen the soil.
If the pot can’t be squeezed then try tapping the bottom of the pot or laying the pot on its side and pulling sideways. For larger plants or those in solid pots, use more force from the base of the plant, pulling up and down to gradually dislodge the root ball from the pot.
If the plant still won’t budge, lay the pot on its side, sit down with the plant, and use your legs on top of the pot to help lever the root ball out.
When pulling the plant, try to pull the whole root ball out in one single piece. It’s okay if some pieces come off. You have the option to either keep the root ball completely intact or shake the soil loose if you want to completely replace it with fresh soil, this option is a little more risky as you will damage microscopic root hairs but you can succeed with either method.
If the roots appear root-bound go ahead and cut off the bottom of the root ball with a sharp knife. Another option is to gently tease or scratch the roots apart on the bottom. Don’t worry about the roots growing on the side.
Step 3: Plant in New Pot
Start by laying a base of potting mix in the new pot. Make sure that the plant sits in the pot at the height you want. once its roughly the height you want, start backfilling with your new mix. I use a homemade potting mix for general use in pretty much all my pot plants.
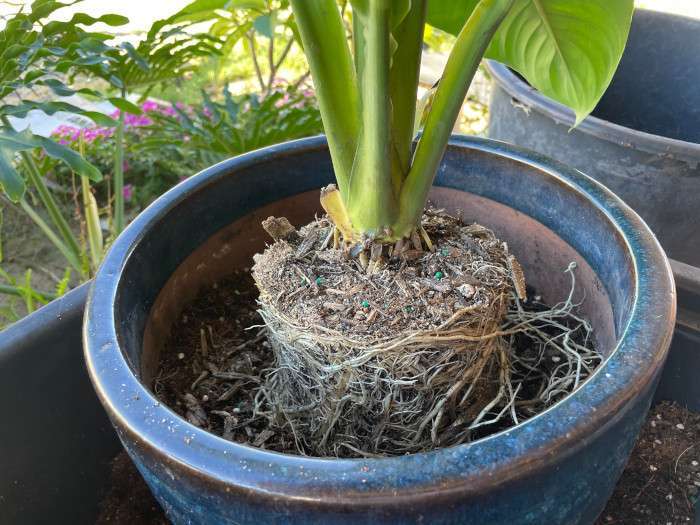
You want the soil level with where it previously was, you can see this by the dirt line on the stem or where the roots begin. Once the plant is in the position you want, press firmly down on the soil and compact it with your hands.
Step 4: Water the Plant In
It’s important to give the soil a good soaking to ensure it makes contact with the roots of the plant. I like to use Seasol but you could use another solution that helps with transplant shock and encourages healthy root growth.
Caring for Your Plant After Repotting
Repotting can damage the root system of a plant, making it harder for the plant to absorb nutrients. To help your plant recover after repotting, follow these essential steps:
Increase Watering Frequency
You may need to water your plant more often for the first week or so to compensate for the stress on the root system when it’s first transplanted. This is especially important if your potting mix is light and drains quickly. Ensure that the soil remains consistently moist but not waterlogged, plants generally tolerate drying out a bit but only when they have a established root system.
Provide Adequate Light
Ensure your plant receives the maximum amount of light it can tolerate. More light will provide the energy necessary for the plant to grow new leaves and roots. Keep in mind the light conditions the plant prefers.
Monitor for Problems
Keep a close eye on your plant after repotting. It’s normal for plants to show signs of stress, such as drooping leaves or slow growth, during the initial recovery period. Look out for any persistent issues that might indicate a problem, such as yellowing leaves, wilting, or signs of pests.
Be Patient
It’s normal for plants to suffer a bit after transplanting. With proper care and attention, they will likely bounce back much stronger in the growing season. Just be patient and continue to provide the necessary care.
FAQ
1. How Do I Reduce Transplant Shock?
Transplant shock can stress your plant during the repotting process. Apart from the strategies mentioned in this guide, there are a few other methods to reduce transplant shock.
Consider using products like Seasol, which provide nutrients and beneficial bacteria to the plant, aiding in recovery and reducing shock. Additionally, applying rooting hormone to your plants can encourage root growth and speed up recovery.
If you’re in a warm climate, it’s advisable to keep the repotted plant out of direct sunlight for the first week or so. Direct sun can dry out the roots faster, exacerbating transplant shock. Give your plant time to acclimate to its new environment before reintroducing it to direct sunlight.
2. Can I Repot Multiple Plants Together?
Repotting multiple plants together is pretty common and something I do a lot myself, but there are a few things to keep in mind.
Firstly, make sure that the new pot is large enough for all the plants. Since multiple plants will be competing for nutrients, a larger pot will provide more space for root growth and nutrient uptake.
Also, be aware that a pot containing multiple plants will likely dry out faster than individual pots. Therefore, you may need to adjust your watering schedule to ensure all plants receive enough moisture.
3. What Should I Do if My plant is Sick or Infested With Pests?
Repotting can be a good way to restore balance and improve the overall health of a suffering plant. Here’s how to approach the situation:
First, diagnose the problem affecting your plant. Whether it’s disease, pest infestation, or issues related to the potting mix, understanding the root cause is crucial.
Once the issue is identified, isolate the affected plant to prevent the spread of disease or pests to other nearby plants.
Evaluate whether repotting is necessary based on the specific issue. If the roots are being affected or if the problem directly relates to the potting mix, repotting may be a good idea.
If the issue does not require repotting, look at alternative treatments such as pest control measures or disease treatments recommended for the specific problem.
Conclusion
Repotting your plants is an important part of maintaining their health and promoting optimal growth. By understanding the reasons for repotting and following the step-by-step instructions provided, you can ensure that your plants receive the necessary conditions to survive and thrive.
Remember to choose the right season, handle the removal process with care, plant in the new pot at the correct height, and water thoroughly to minimize transplant shock.
Feel free to share any tips or experiences with repotting in the comments.
Very informative step to step guide! Thank you for sharing❤️