It’s time to repot your plant, but you’re worried about killing it. Maybe it’s happened before, or maybe you just want to take the best care of your prized plants.
Don’t worry—this simple guide will walk you through a step-by-step process to prevent damage, minimize transplant shock, and help your plant thrive in its new home.
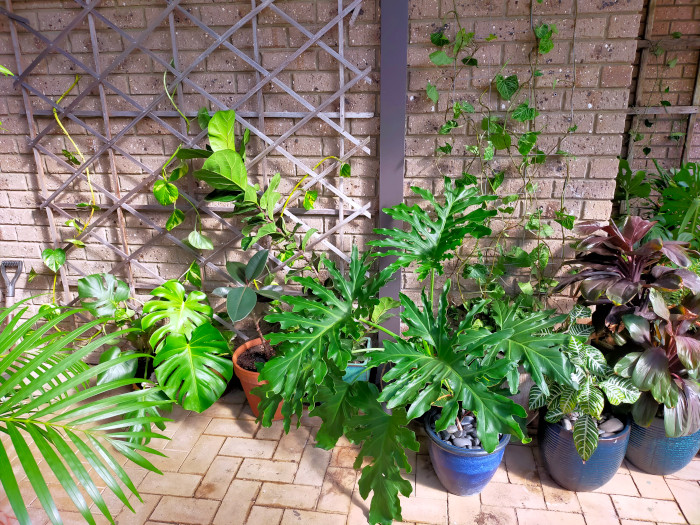
I keep quite a few potted plants, so I’ve done my fair share of repotting. Today, I want to share what’s worked best for me over the years.
When Should You Repot a Plant?
Many people either repot too soon or wait too long, both of which can cause problems. So how do you know when to repot a plant? Look for these signs:
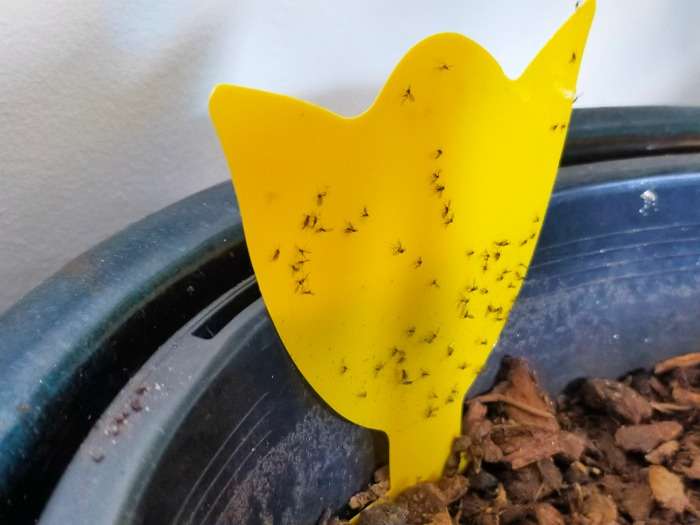
- Compacted Soil: Compacted soil slows drainage, affecting plant health and inviting pests like fungus gnats.
- Slow Growth: As soil nutrients decrease, growth slows. If your plant is growing slowly or has stopped, it might need a fresh, nutrient-rich potting mix.
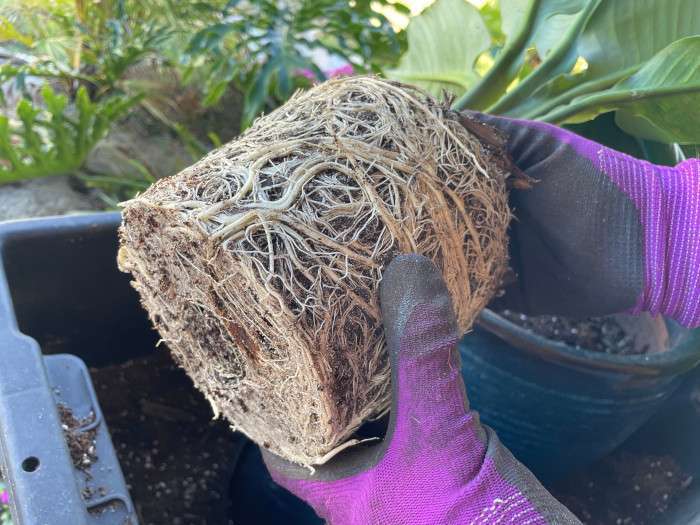
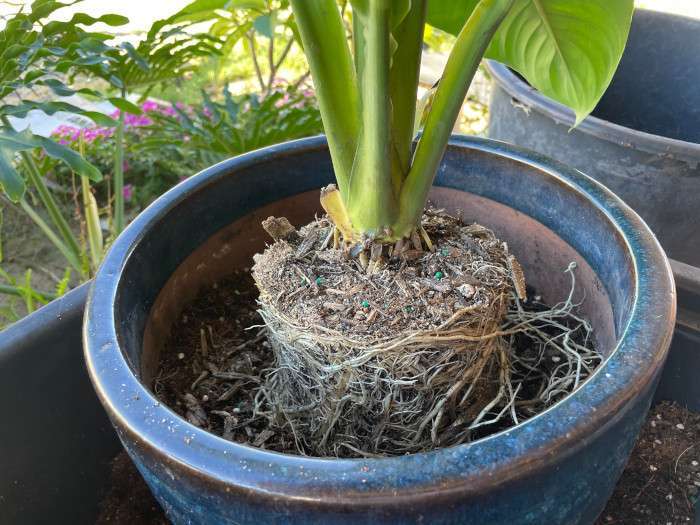
- Roots Coming Out of the Pot: When a plant outgrows its pot, roots form tight circles, blocking water and nutrient absorption. You’ll often see the tips poking out the bottom.
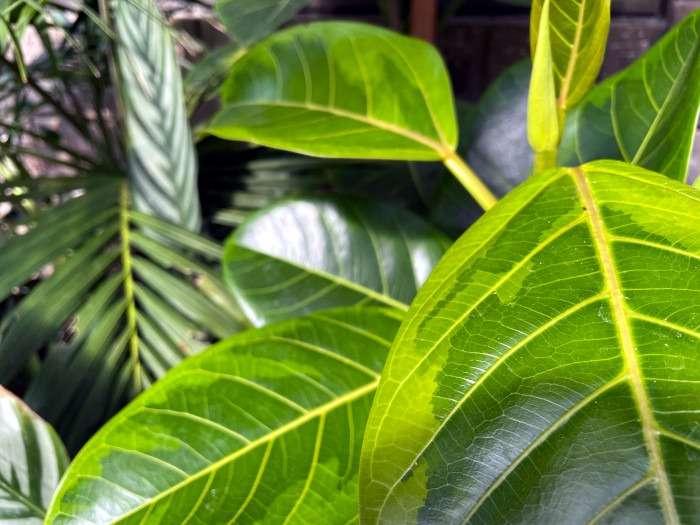
- Yellow or Brown Leaves: Discoloration can be a sign of stress from being root-bound or lacking nutrients.
Note: Most plants need repotting every year or two to stay healthy and thrive. However, I’ve also had some plants do just fine in the same pot for years.
Choosing the Right Pot for Your Plant
Choosing the wrong pot can hinder your plant’s growth or even cause it to die. It’s important to consider both the material and size, as these affect your plant’s health and maintenance.
Pot Materials
- Terracotta: Porous, great for plants that prefer drier soil, but can break easily so I don’t recommend using large terracotta pots.
- Ceramic: More durable and often glazed, but heavier and less breathable.
- Plastic: Lightweight, durable, and inexpensive, making them great if you need to move them a lot.
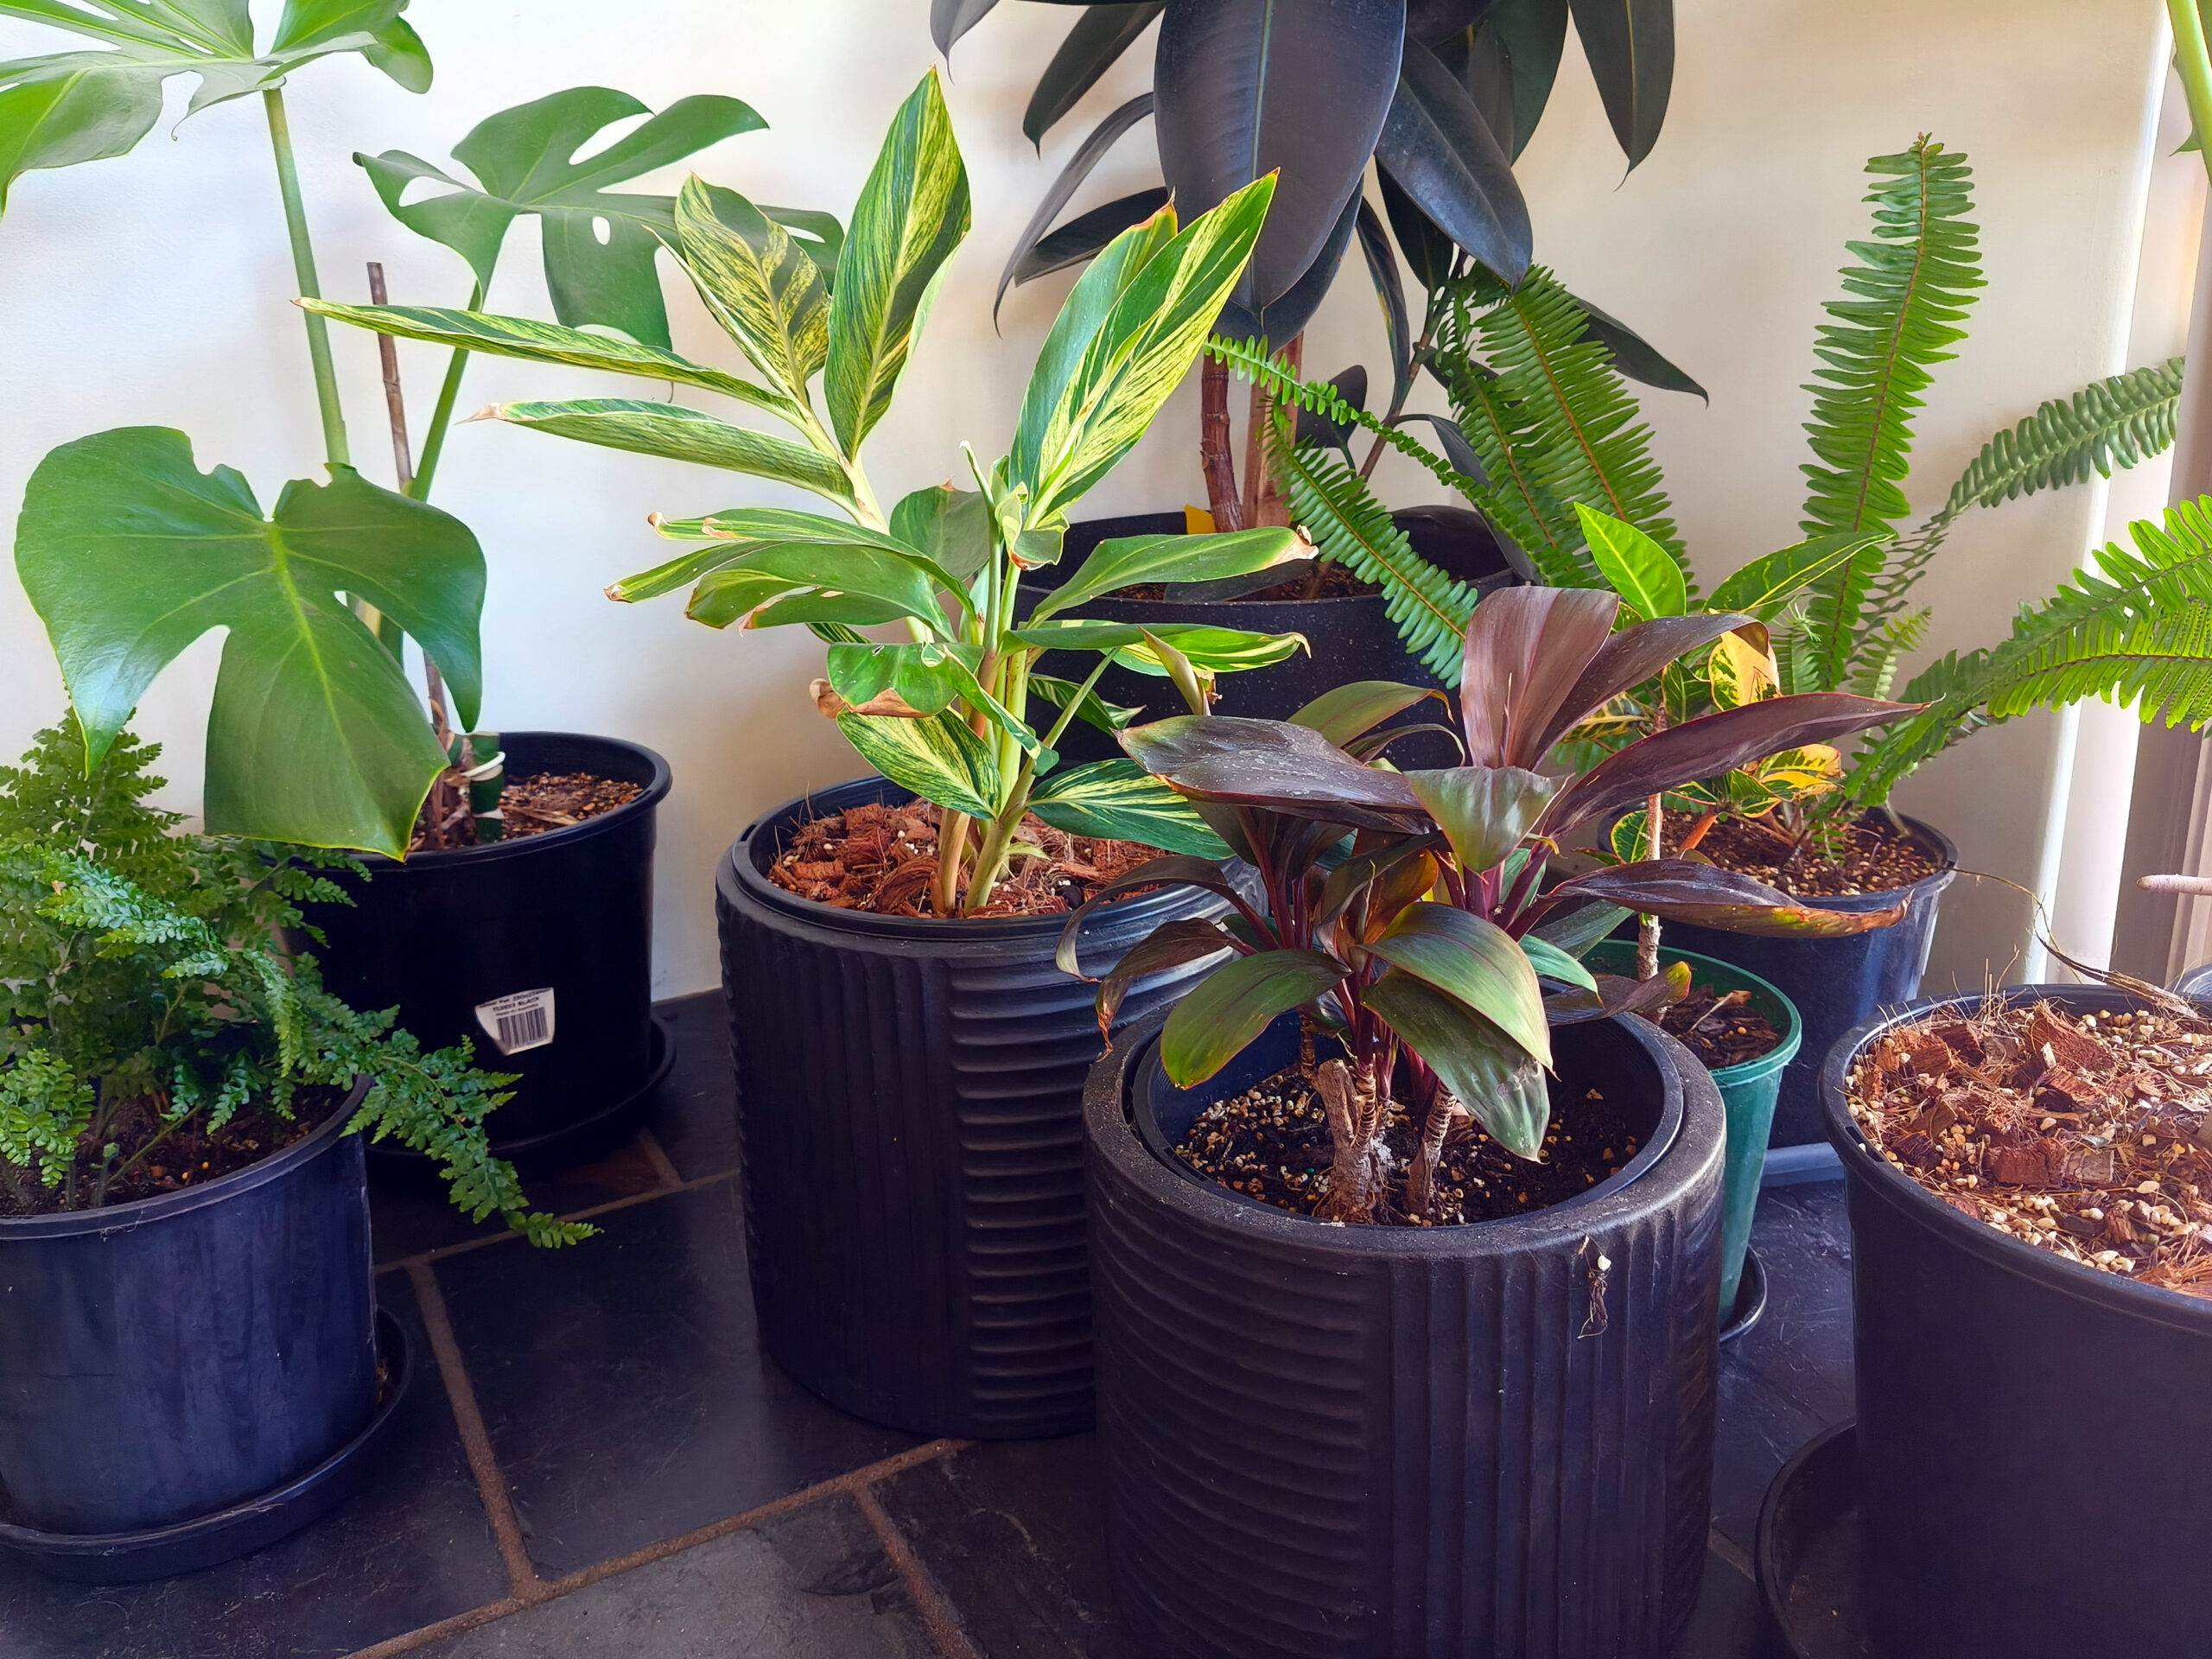
Tip: For indoor plants, try using plastic pots inside decorative ones. This makes repotting and watering easier since you can remove the plant without moving the outer pot. I do this for most of my indoor plants.
How to Know What Size Pot for Plant?
The size of your pot is the most important factor.
- Too Big: If the new pot is too large, excess moisture may build up in the soil, leading to issues like fungus gnats or root rot.
- Too Small: If the new pot is too small, there won’t be enough room for the plant’s roots to grow, potentially stunting its growth. (You are changing pots for a reason!)
Aim for a pot that’s about 1.4 times larger than the old one. This is just a general guideline but it works for me.
If your plant is a fast grower, you might consider going a bit larger (around 1.5 times the size), because you don’t want to have to repot sooner than you want to.
How to Measure Plant Pot Size
Many pots have a sticker on the inside or outside with the dimensions already on them, if not take a ruler or measuring tape and measure the diameter across the top of the pot.
Tip: Keep the stickers on your nursery pots, makes it quick and easy to work out your transplant sizes.
Common Pot Size Guide
| Pot Size | Suitable for |
|---|---|
| 10cm (4″) | Small plants, succulents |
| 14cm (5.5″) | Small plants |
| 18cm (7″) | Small to medium plants |
| 24cm (9.5″) | Medium to larger plants |
| 30cm (12″) | Large plants, small trees |
How to Repot a Plant Without Killing It: Step by Step
By now we understand why we want to change pots and what to consider when choosing a new one. Let’s get into the actual repotting process.
1. Choose the Right Season
Repotting is possible year-round, but spring is ideal as plants start growing and can recover faster. During this time the plants will be starting to produce new growth which will help them recover from the repotting process.
Tip: Avoid repotting in hot weather – plants struggle to absorb water with damaged roots, which can lead to dehydration.
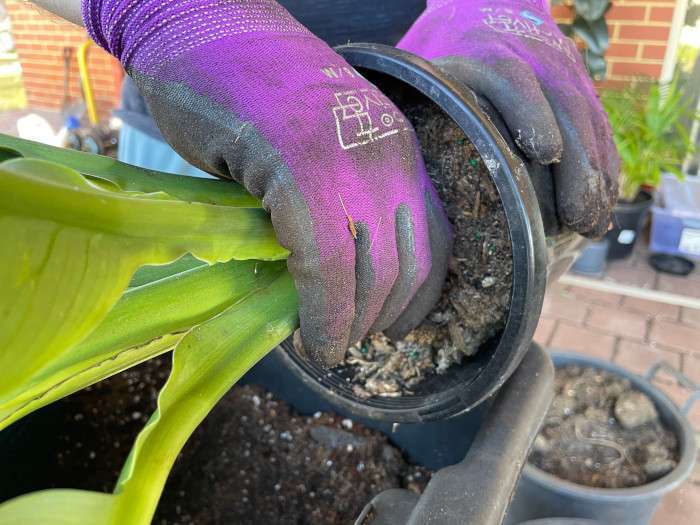
2. Remove the Plant from the Pot
Grab the base of the plant and gently pull upwards. If it’s stuck, squeeze the pot or tap the bottom to loosen the soil. For larger plants or solid pots, use more force from the base, pulling up and down to gradually free the root ball.
If it still won’t budge, lay the pot on its side and use your legs to help lever the root ball out.
Tip: Place your pot on a soft surface like grass or a mat to avoid damage when repotting, especially with ceramic or terracotta pots.
3. Loosen the Roots
Try to remove the root ball in one piece. You can shake off the old soil, but this risks damaging root hairs. Don’t worry too much about removing the dirt—the new potting soil will provide plenty of nutrients.

If the plant is root-bound, cut the bottom of the root ball or gently tease apart the roots on the bottom.

4. Plant in New Pot
Start by laying a base of potting mix in the new pot. Make sure that the plant sits in the pot at the height you want. once its roughly the height you want, start backfilling with your new mix. I use a homemade potting mix for general use in pretty much all my pot plants.
You want the soil level with where it previously was, you can see this by the dirt line on the stem or where the roots begin. Once the plant is in the position you want, press firmly down on the soil and compact it with your hands.
5. Water the Plant In
It’s important to give the soil a good soaking to ensure it makes contact with the roots of the plant. I like to use Seasol but you could use another solution that helps with transplant shock and encourages healthy root growth.
Conclusion
Repotting is crucial for maintaining your plants’ health and helping them thrive. While there’s always some risk during transplanting, choosing the right pot size and following the steps in this guide will set you up for success.

Very informative step to step guide! Thank you for sharing❤️