
Growing your own vegetables can feel overwhelming at first—with so much information out there, where do you even start? When I first began, I struggled to sort through all the advice and put it into practice. It felt like a lot of trial and error.
But over time, I’ve discovered what really works, and now my veggie gardens thrive year after year. Today, I’ll share tips on raised bed layout and plant arrangement, so you can set yourself up for an abundant harvest, even if you’re just starting out.

What’s a Good Standard Raised Bed Size?
When planning your garden beds, it’s important to think about dimensions that balance accessibility and maximise growing space. The ideal size for raised bed is probably 1.2 meters (4 ft) wide and 2–3 meters (6.5–10 ft) long.
Width
You want to be able to reach the middle without stepping on the soil, so 1.2 meters (4 ft) is ideal for most people. You can go narrower if it suits your space, but 1.2 meters (4 ft) gives you the most growing area without being hard to manage.
Length
Length is flexible, but in my experience, 2–3 meters (6.5–10 ft) is a good maximum. Anything longer than that can get annoying when you’re constantly walking around to the other side.
Our Garden Beds
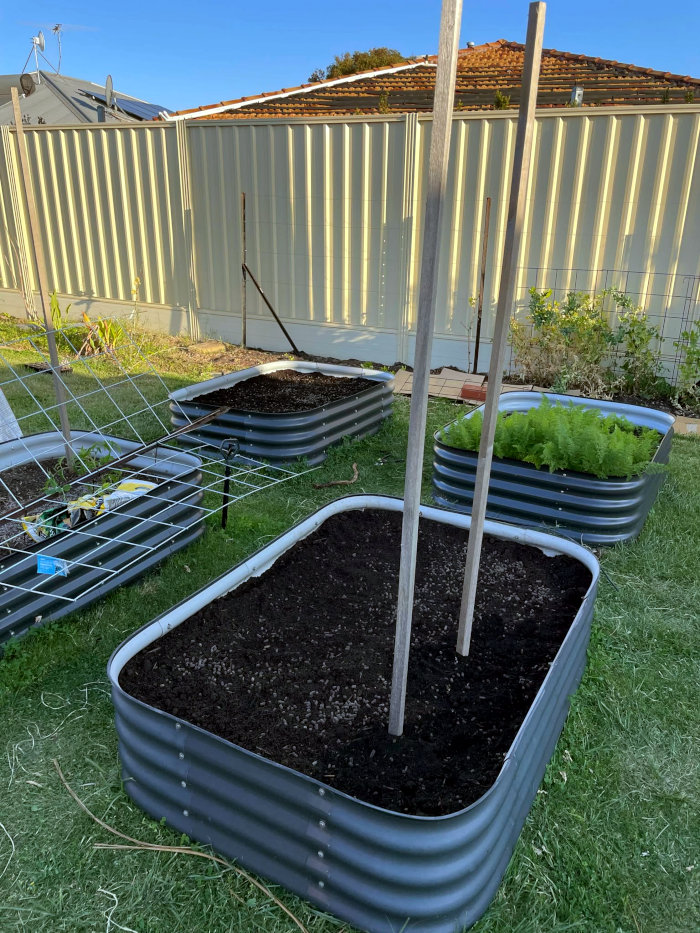
For our garden, we’re using raised beds that are 90 by 130 cm (3 by 4 ft). That’s just the size they came in, but I actually like it—smaller beds are much easier to access from all angles, making weeding, harvesting, and other chores easier.
These dimensions are a good guide, but there’s no hard rule. Play around with what fits your space and works for you.
What is the Best Height for a Raised Garden Bed?
For most plants, a depth of 30 cm (12 in) is enough for their root systems. If you have decent soil underneath your raised bed, this should be fine.
However, if your soil is rocky or poor quality, I recommend increasing the depth to 60 cm (24 in). This depth is also ideal for root crops like carrots or potatoes, which need more space for their roots.
If you have a bad back or want to avoid bending down too much, a taller bed could be a better option. Keep in mind, though, that taller beds tend to dry out faster, especially in warmer climates.
How to Choose Location and Orientation
To get the most out of your vegetable garden, it’s important to place your raised beds in the right spot. The highest priority should be to grow your vegetables in a sunny location to give them the best chance to thrive.
Ideally, your beds should receive as much sunlight as possible. If that’s not possible, aim for at least 5 hours of sunlight a day.
When considering orientation, position your beds to maximize light exposure throughout the day. A north-south orientation is the best option, as it allows sunlight to spread more evenly across the bed. While an east-west orientation works, plants on the east side might be shaded during the afternoon.
Tip: If you have shadier areas, you can still grow leafy greens like spinach and lettuce, which thrive in lower light conditions.
Budget-Friendly Raised Bed Materials
You don’t need to spend a fortune on new materials. Here are a few cost-effective options:
- Wood: Affordable if locally sourced but avoid chemically treated wood. Pallets sticks, and logs are great alternatives.
- Metal: Sturdy and long-lasting, but may rust over time. Opt for galvanized, rust-resistant or UV stabilised options.
- Bricks: Durable, weather-resistant, and often available cheaply or for free. Bricks absorb heat, extending the growing season in cooler climates.
- Concrete Blocks / Cinderblocks: Inexpensive, durable, and good for cold climates as they retain heat.
- Rocks: Free if you have them on your property.
Tip: Check online marketplaces, or ask friends and neighbours for second-hand or free materials like bricks or scrap wood. Landscaping companies often give away leftover materials.
We like to use UV-stabilized metal beds, which last longer in our sunny climate compared to wood, and we love the look. We got half of ours second hand at a great price from online marketplaces.
It can be expensive to fill a raised bed with good quality soil, especially if you have a lot of them. Luckily there are some good ways to fill raised beds without breaking the bank.
How Do You Arrange Plants in a Raised Bed?
When planning your vegetable garden raised bed layout, there’s a few things to think about:
Consider the Sun and Shade
It’s important to consider both your climate and your plants’ needs. Here’s how I approach it:
In Hot Climates: Leafy greens and plants that prefer cooler conditions thrive on the eastern side of the bed, where they can enjoy morning sunlight and avoid the harsh afternoon heat.
Taller Plants: Position these on the western side of the bed. They will provide shade to smaller plants while blocking out the harsher afternoon sun.
In Cooler Climates: Consider doing the opposite. Place shorter plants where they can benefit from the warmer afternoon sun, while taller plants still get the light they need without shading the smaller ones.
Choose a Spacing Method
Spacing is crucial in your raised bed layout. You can follow recommendations from seed packets or use a method that fits your space and goals. Here are some common options:
Intensive Planting
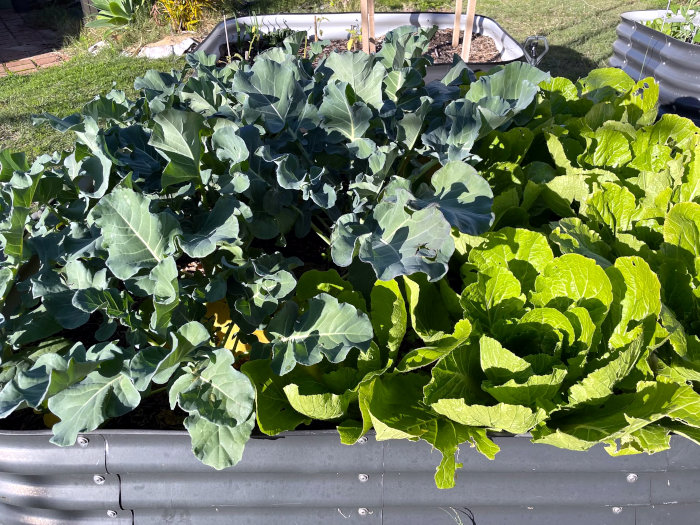
In raised beds, I find it’s okay to crowd plants a little, especially when using nutrient-rich soil. Intensive planting works well because it maximizes space while still supporting healthy plant growth. Benefits include:
- Living Mulch: Dense plantings shade the soil, preserving moisture and reducing the need for frequent watering.
- Higher Yields: You can optimize your growing space to produce more crops.
As long as plants have access to sunlight and enough room for their roots to grow, they’ll thrive.
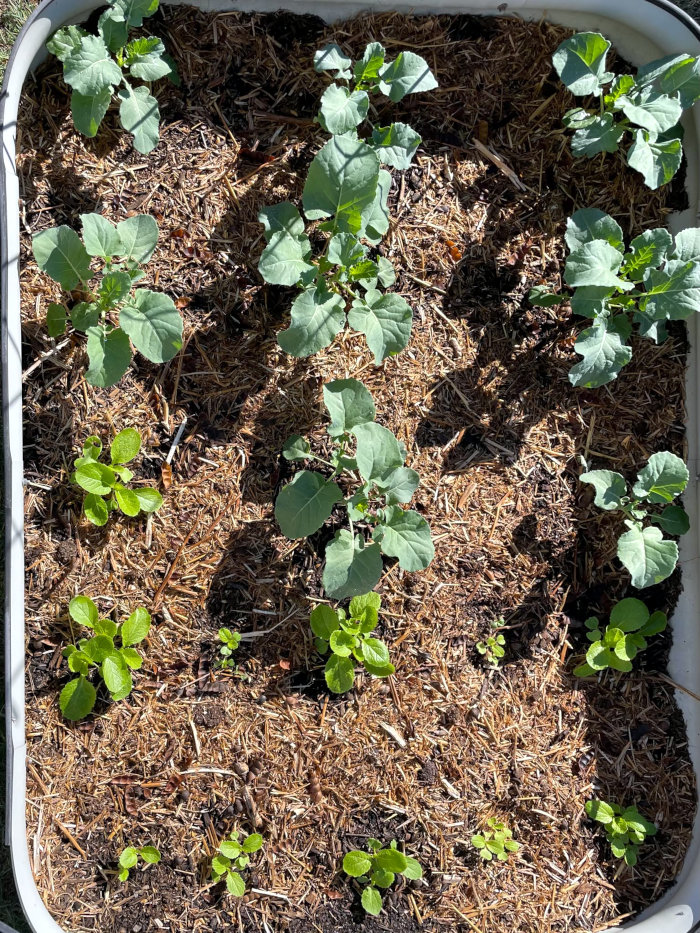
I sometimes loosely follow packet spacings, but I’m never afraid to squeeze plants a bit to make the most of whatever size bed I’m working with. This approach works especially well if you’re regularly harvesting your crops, which creates extra space for the remaining plants to grow.
Companion Planting
In intensive setups, companion planting can be a great strategy. Certain plants benefit each other by offering things like nutrient exchange or acting as pest repellents. For example, planting basil with tomatoes is said to improve flavour while deterring pests.
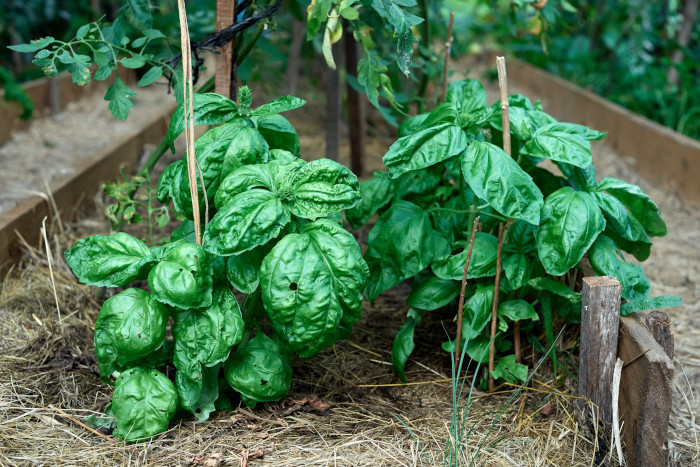
I also consider plants companions if they make complementary use of space. For instance, tall plants like tomatoes can grow deep roots and be pruned to remove lower foliage, leaving space underneath for shallow-rooted crops. This minimizes competition for nutrients and light.
Square Foot Gardening
This is another popular method in raised bed gardening. Square foot gardening divides your bed into equal sections, allowing you to plant specific numbers of plants per square foot. For instance:
- 1 tomato plant per square
- 4 lettuce per square
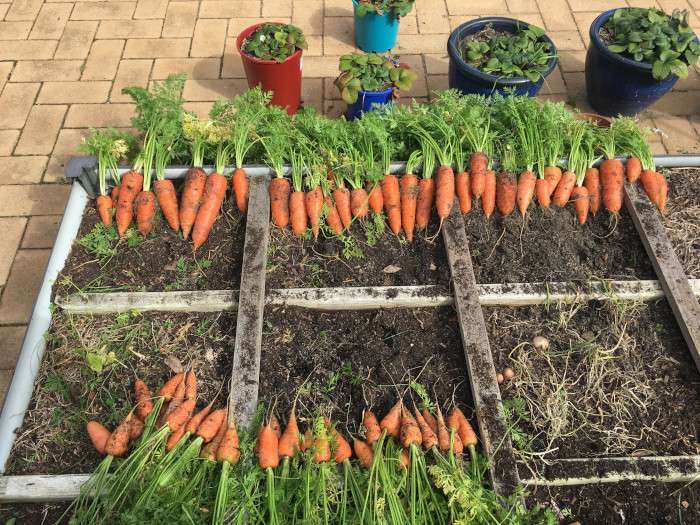
- 16 carrots per square
This system works well if you prefer a more specific and measurable approach to what’s growing in your bed.
Vertical Gardening
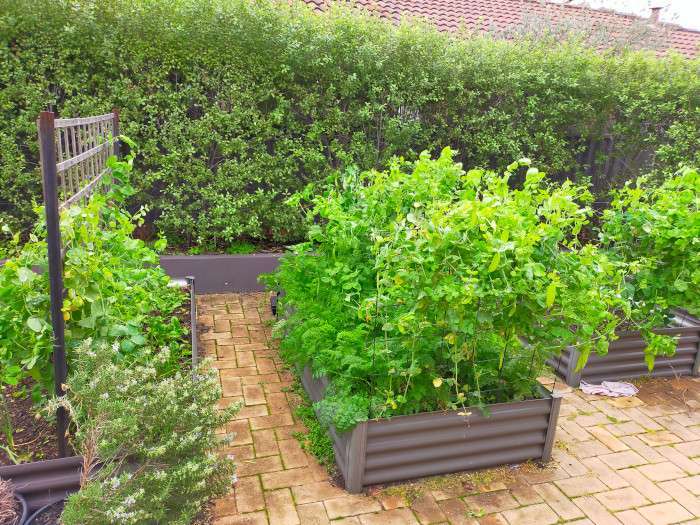
To make the most of your raised bed space, growing crops vertically is a great option, especially when combined with intensive planting.
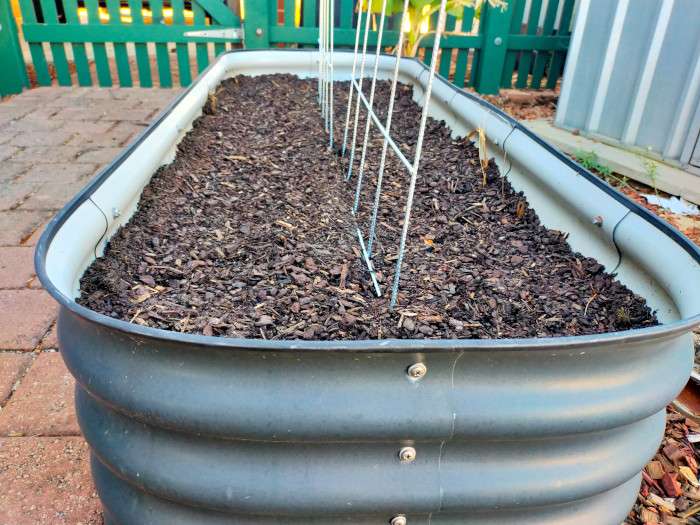
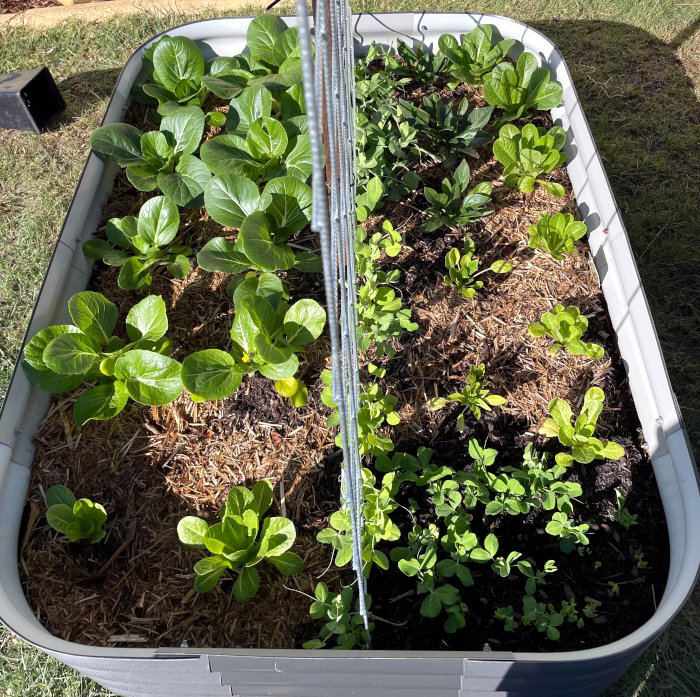
I like to place my trellis in the middle of the bed, effectively splitting it into east and west sides. The crops growing on the trellis provide natural shade for the plants on the east side, protecting them from the harsher afternoon sun.
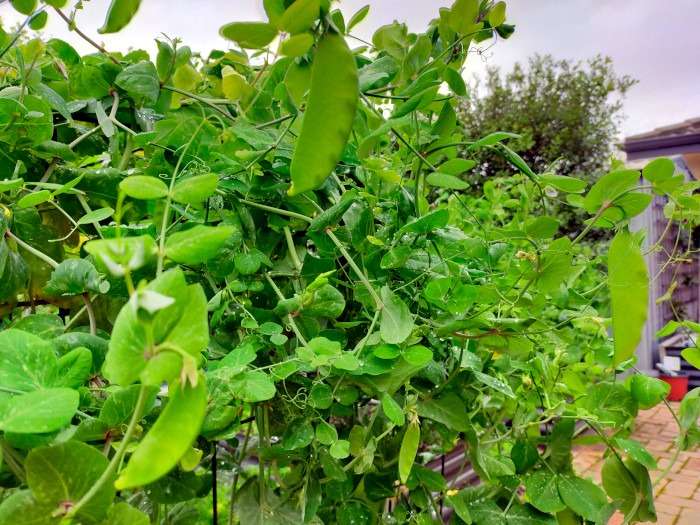
If your raised bed is up against a fence, you can make good use of it by growing climbing plants like beans, peas, or cucumbers right up the fence.
Some gardeners also like to build arches between their raised beds using sturdy materials like wood or metal. These arches are great for growing crops like squash or gourds, giving you extra space for planting and adding a nice touch to your garden.
Common Spacing
If you prefer to follow seed recommendations, here’s a quick guide to some common spacing suggestions:
| Plant | Spacing Between Plants | Spacing Between Rows |
|---|---|---|
| Carrots | 2–3 cm; thin to 5–7 cm | 15-20 cm |
| Head Lettuce | 20–30 cm (full heads) | 25–30 cm |
| Salad Lettuce | 10–15 cm (cut-and-come-again) | 25 cm |
| Tomatoes | 30 cm | 60–90 cm |
| Corn | 30 cm | 50–75 cm |
| Bush Beans | 7–10 cm | 30–45 cm |
| Beets | 5–10 cm; thin after germination | 15–20 cm |
| Cabbage | 30 cm | 40–50 cm |
| Spinach | 5–10 cm | 20–25 cm |
| Peas | 10 cm | 30 cm |
| Chillies (peppers) | 30 cm | 45-60 cm |
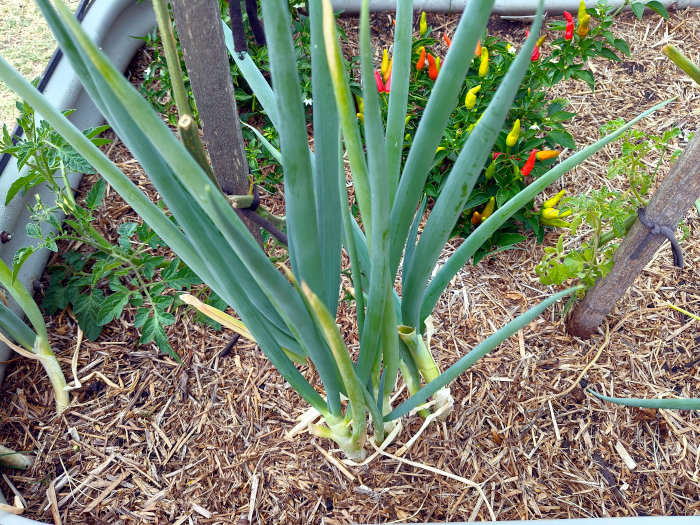
| Onion | 5-10 cm | 60-75 cm |
| Cucumber | 25-30 cm | 90 cm |
Block Planting
While less commonly used in raised beds, block planting can still be effective for larger plants like corn or squash. In this method, plants are grouped together in tight blocks rather than rows. This allows for:
- Better Air Circulation: Helps reduce the risk of diseases that can be caused by excess moisture around plants.
- Even Light Distribution: Ensures that every plant receives adequate sunlight, even in more crowded spaces.
- Reduced Competition: Plants within a block have enough space to access nutrients and grow healthily without competing for resources.
While block planting is typically suited for larger garden spaces, it can still work in raised beds with larger crops or by adjusting the layout to avoid overcrowding. For example, you could plant a block of corn in one section of your raised bed and a block of beans in another, taking care not to overcrowd them.
Herb Garden Raised Bed Layout
Raised beds are a classic way to grow herbs and were one of the first projects I was excited about when I first got into gardening. Herbs are great because they are hardy and can be grown quite close together, making them perfect for raised beds. Here’s a quick layout suggestion for your herb garden:
Location
- Position your herb bed close to your house for easy access while cooking.
- Ensure the bed gets plenty of sun, as most herbs thrive in sunny conditions.
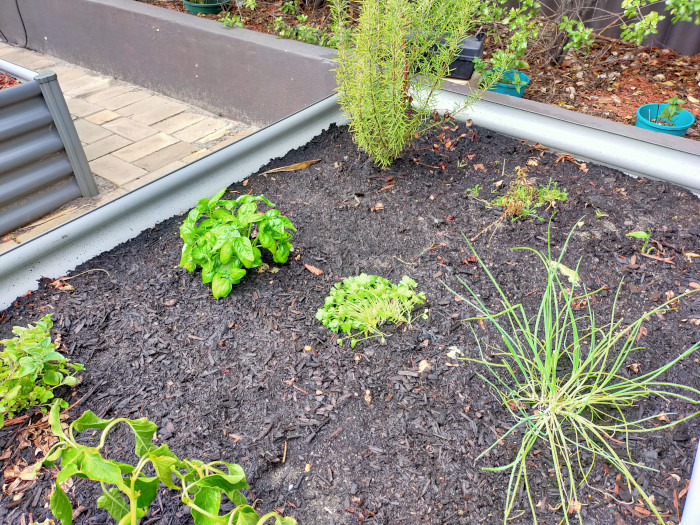
Sunny/Dry Side vs Shady/Wet Side
- Plant Mediterranean herbs (basil, oregano, rosemary, thyme) in the sunny, dry part of the bed.
- Water this area less frequently.
- Consider having two separate beds: one for dry herbs and another for those that need more moisture.
Mint Considerations
- Mint is invasive, so keep it in a separate pot.
- If planting in the bed, keep it inside a nursery pot to stop rhizome spreading.
Conclusion
From my experience, the right raised bed layout can make a huge difference in maximizing your space and achieving a great harvest. Plenty of sunlight and proper bed orientation plays a key role in your garden’s success.
Intensive planting methods like companion planting, square foot gardening, and vertical gardening are excellent strategies for making the most of the limited space in raised beds.
Ultimately, you can design your beds to suit your unique space and needs. By following the principles in this guide, you’ll enjoy the rewards of a thriving garden for many years to come.
